Turning a Cocobolo Ring Dish
2/11/2014
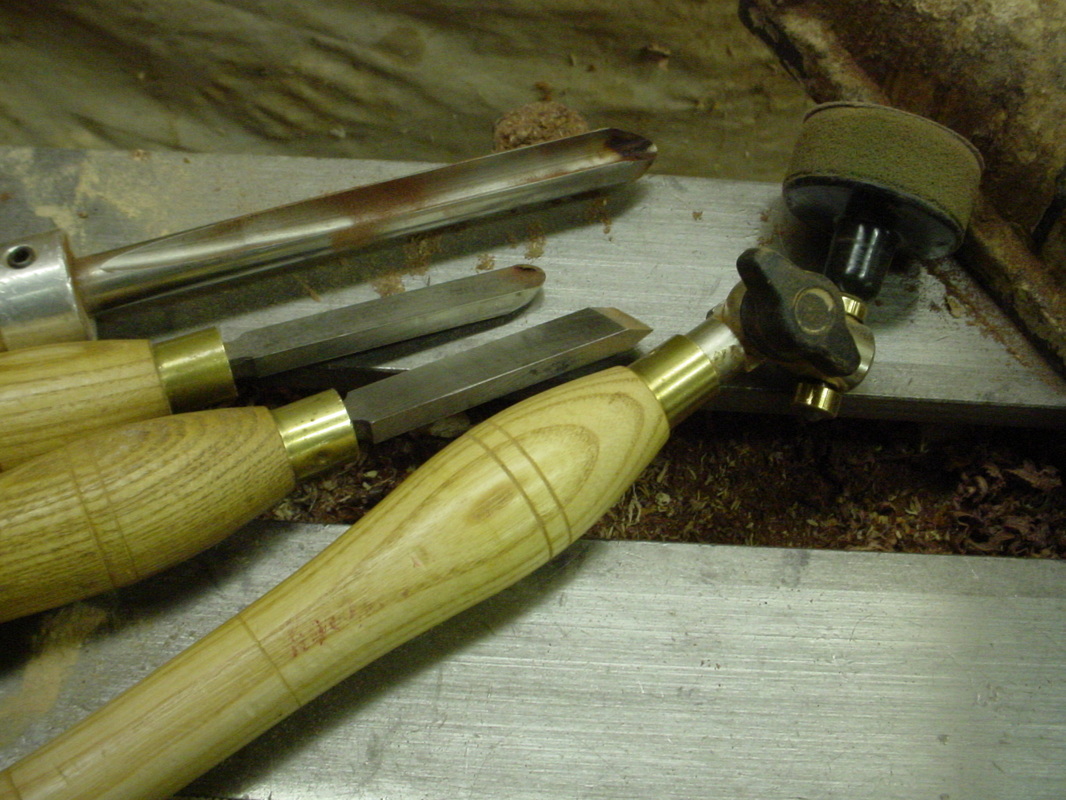
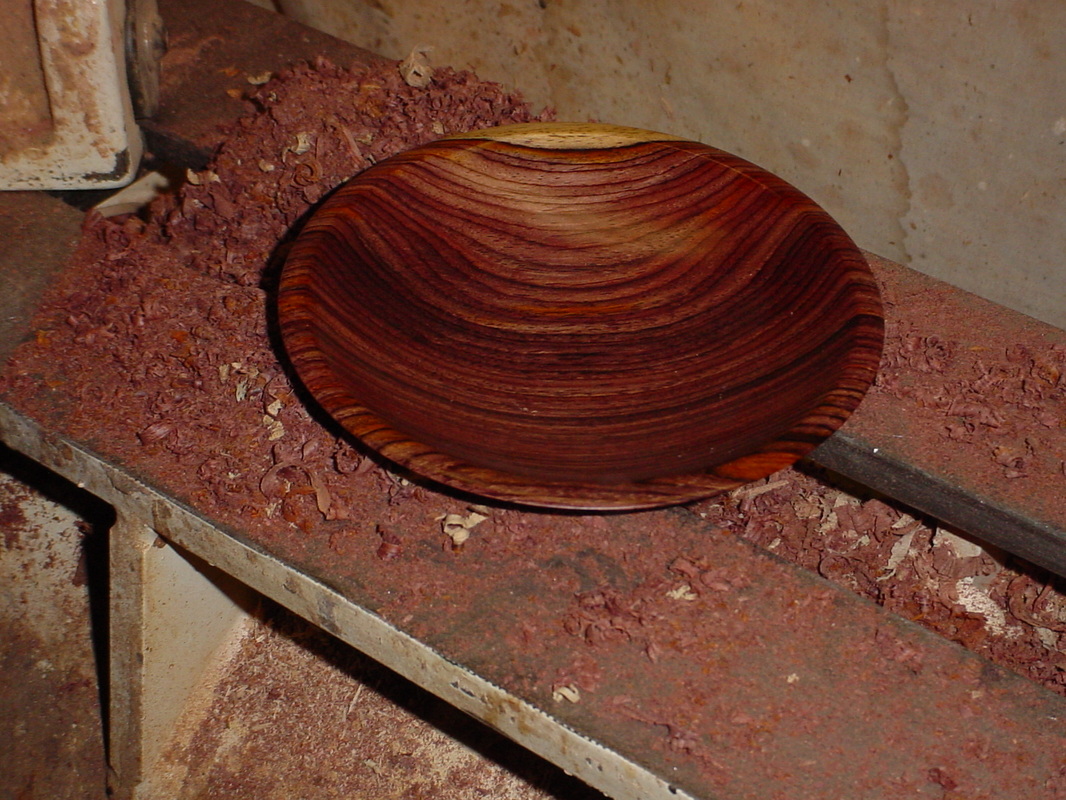
Turning a ring dish is a great way to turn bowls using 4/4 lumber as your turning stock. Ring dishes can range from 3-7 inches in diameter and 1/2 to 1 1/4 inches high. Any bigger then this you might as well call it a bowl! Here are the hand tools you'll need and of course, a lathe and vacuum system.
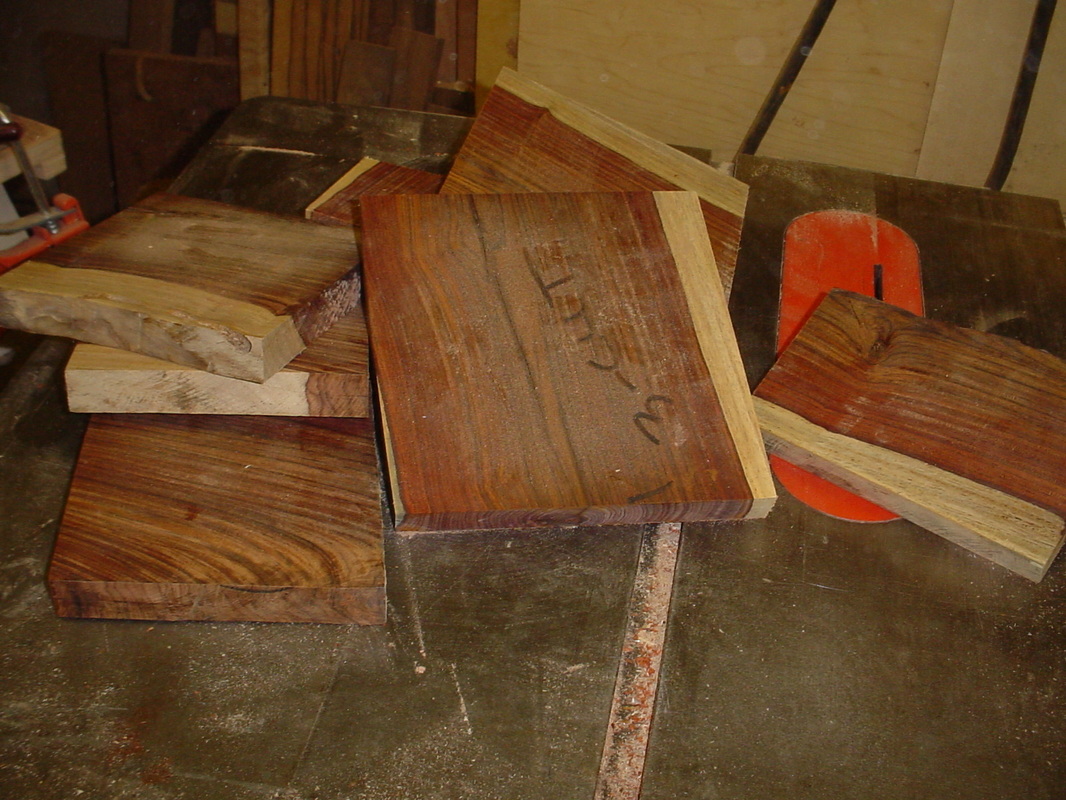
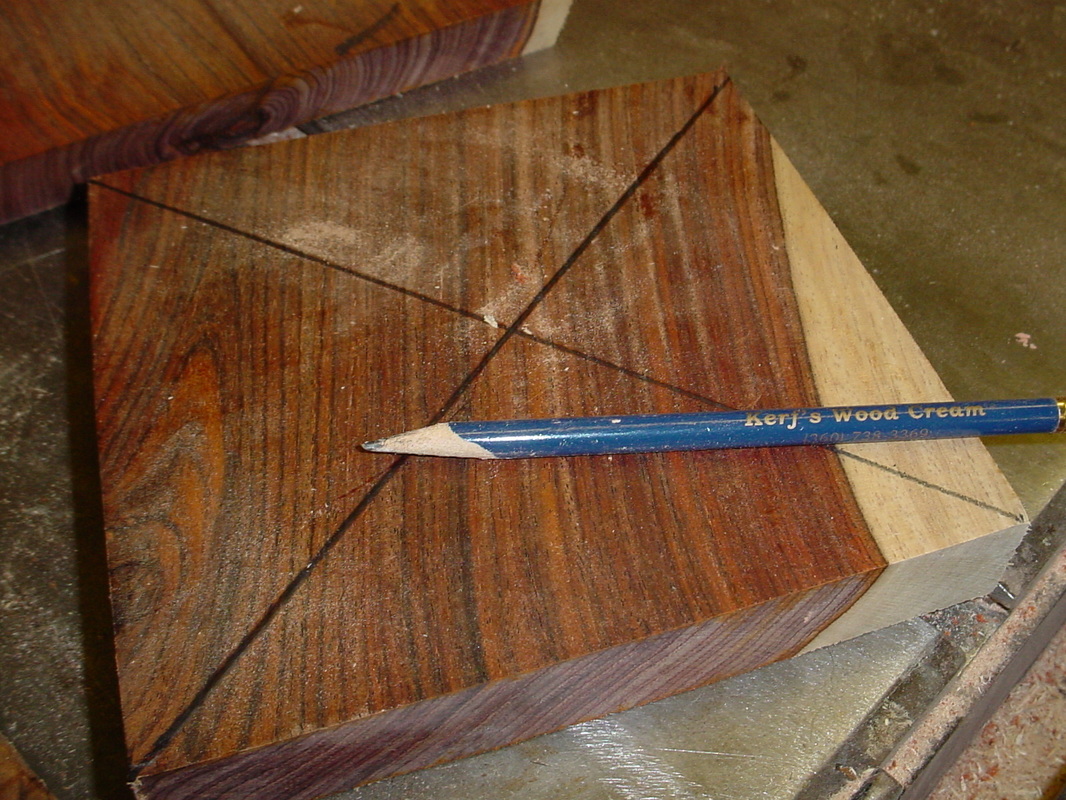
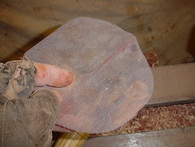
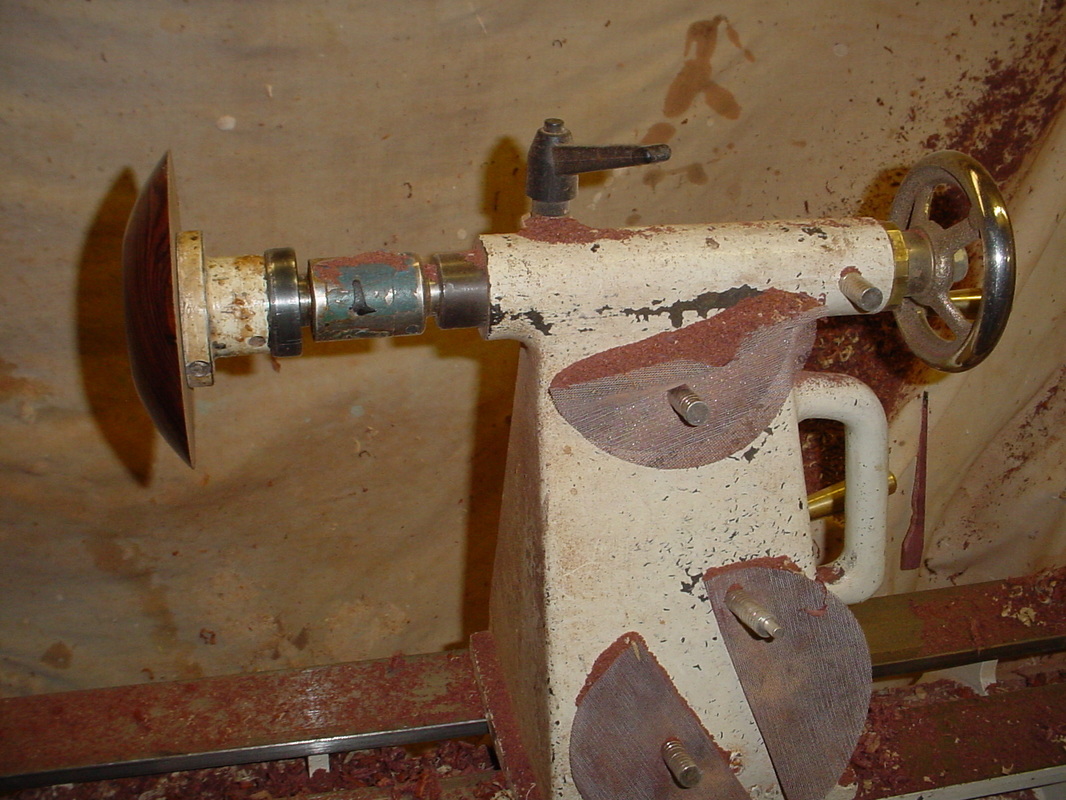
I start with a square piece of Cocobolo. Take a straight edge and draw a line from corner to corner making an "X", this will help center the face plate.
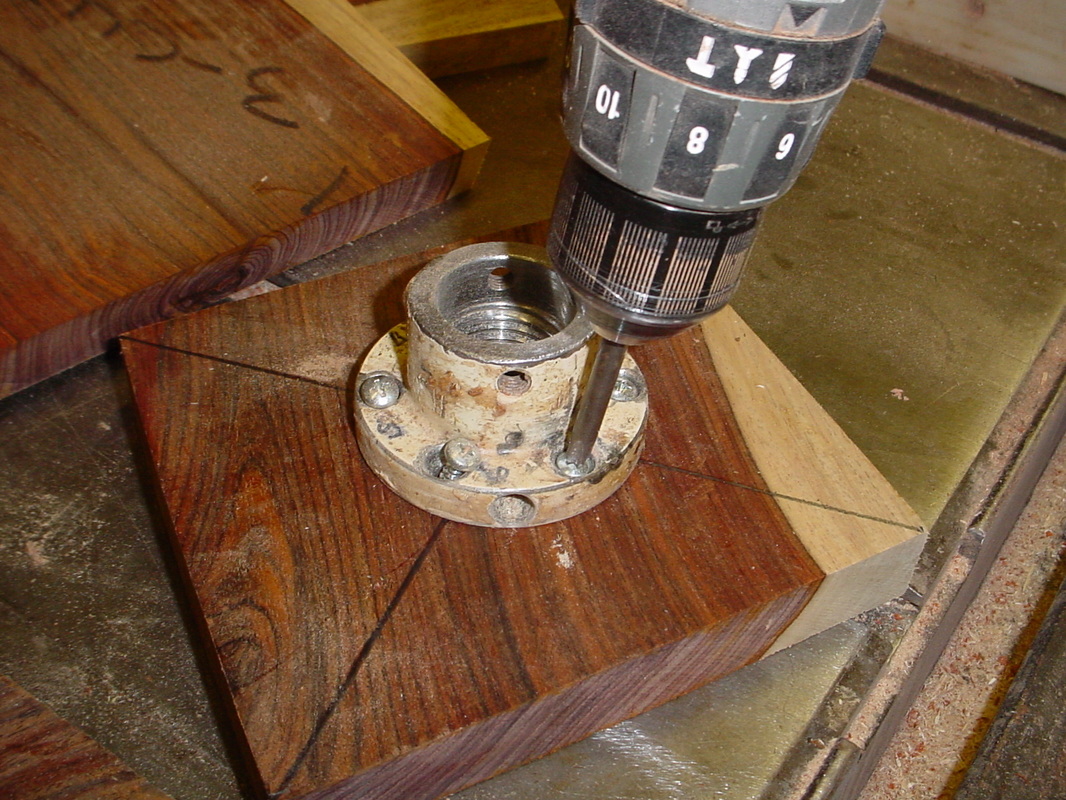
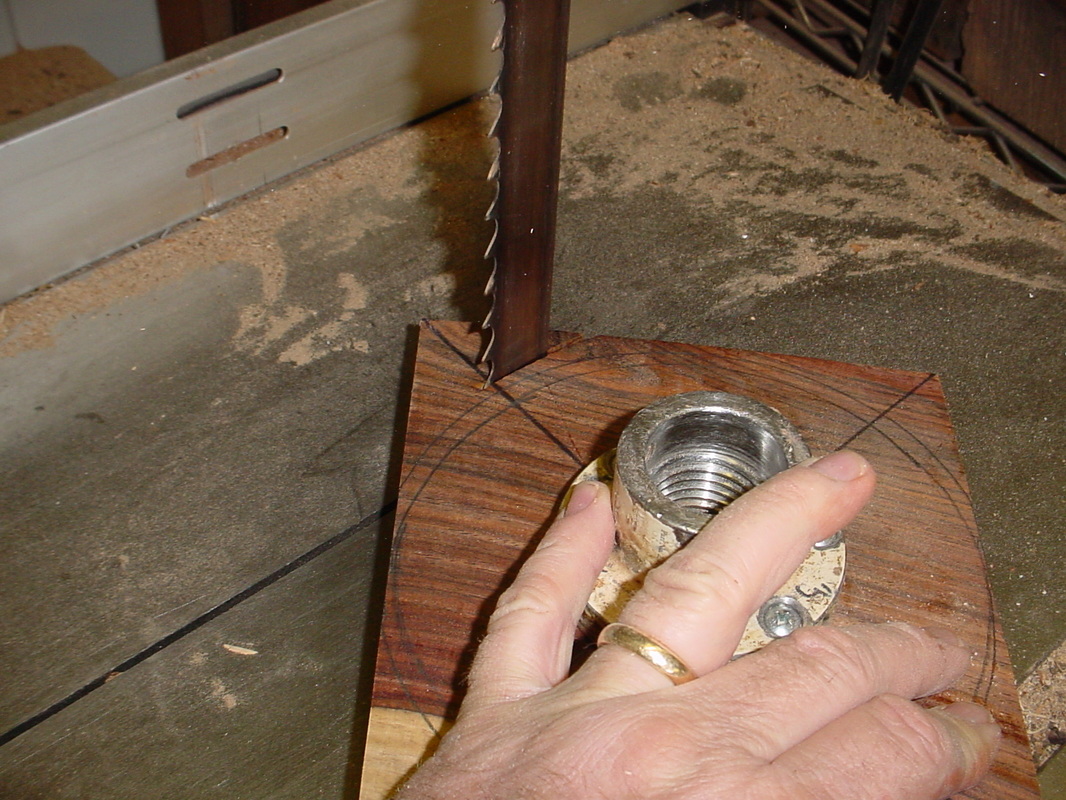
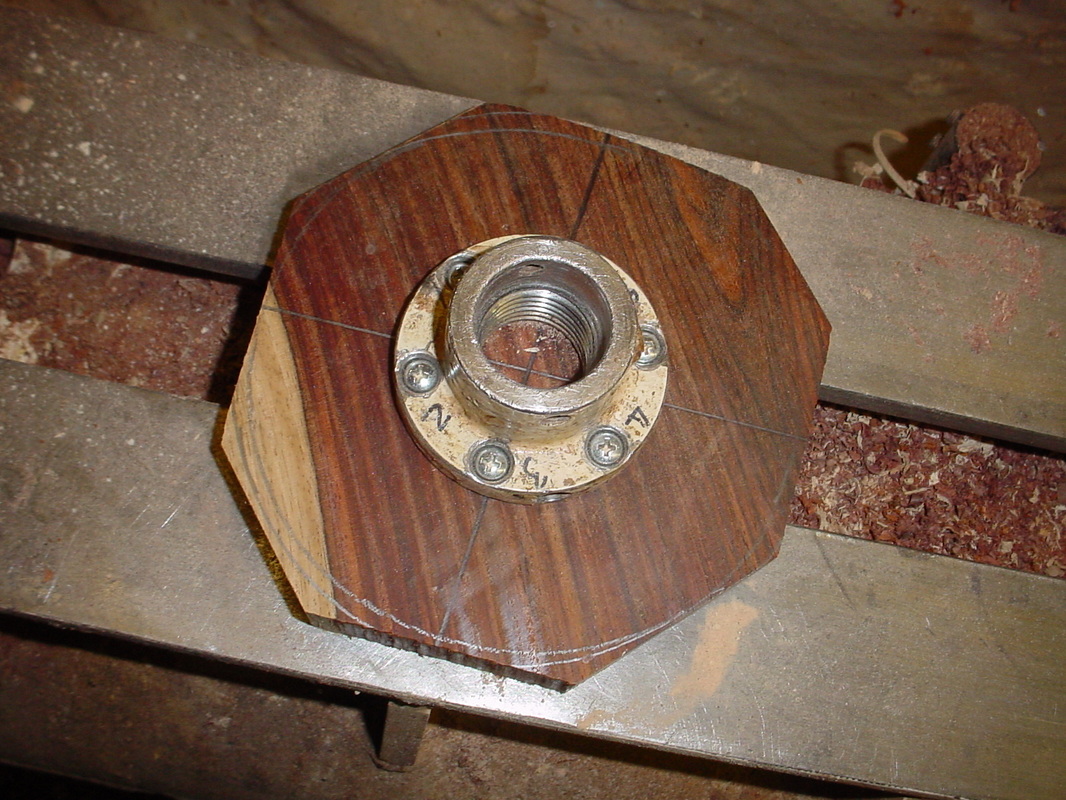
Next mount the face plate and trace a circle on the blank using the face plate as a guide. Place your index finger inside the face plate then place the point of the pencil on one of the edges of the block and trace the circle. This will be the outside edge of the bowl. Then trim off everything outside the circle or like I normally do, just the corners of the block, doesn't have to be exact, just close.
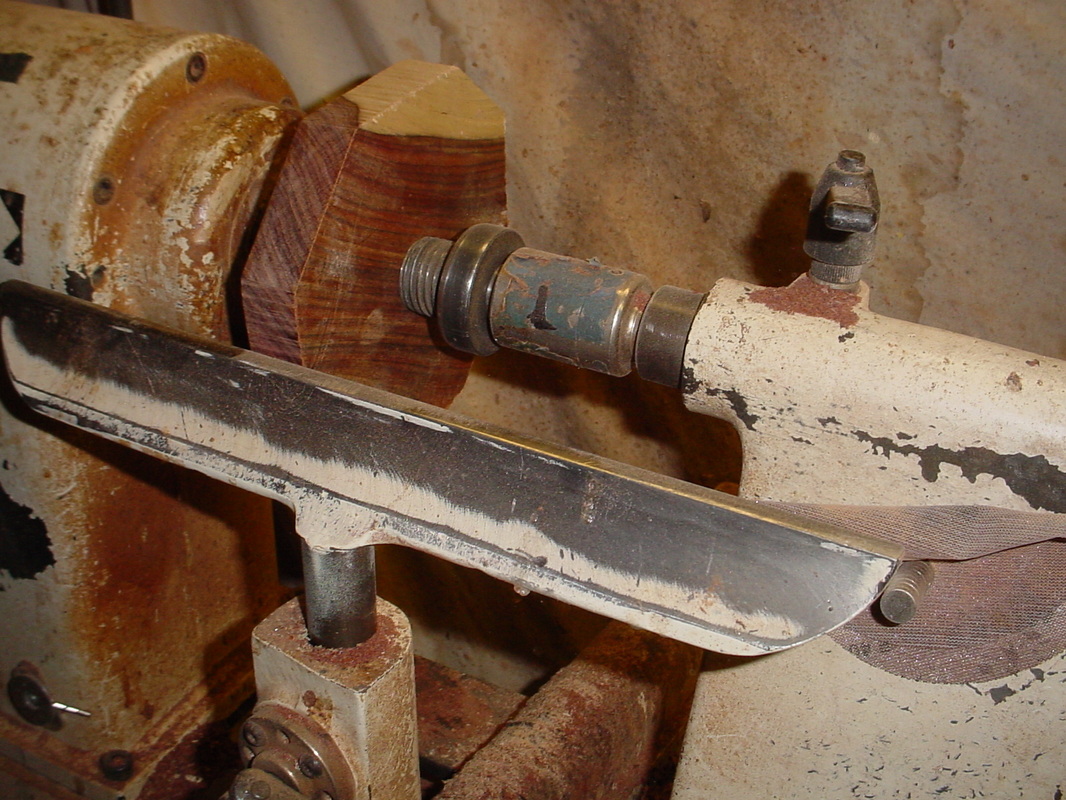
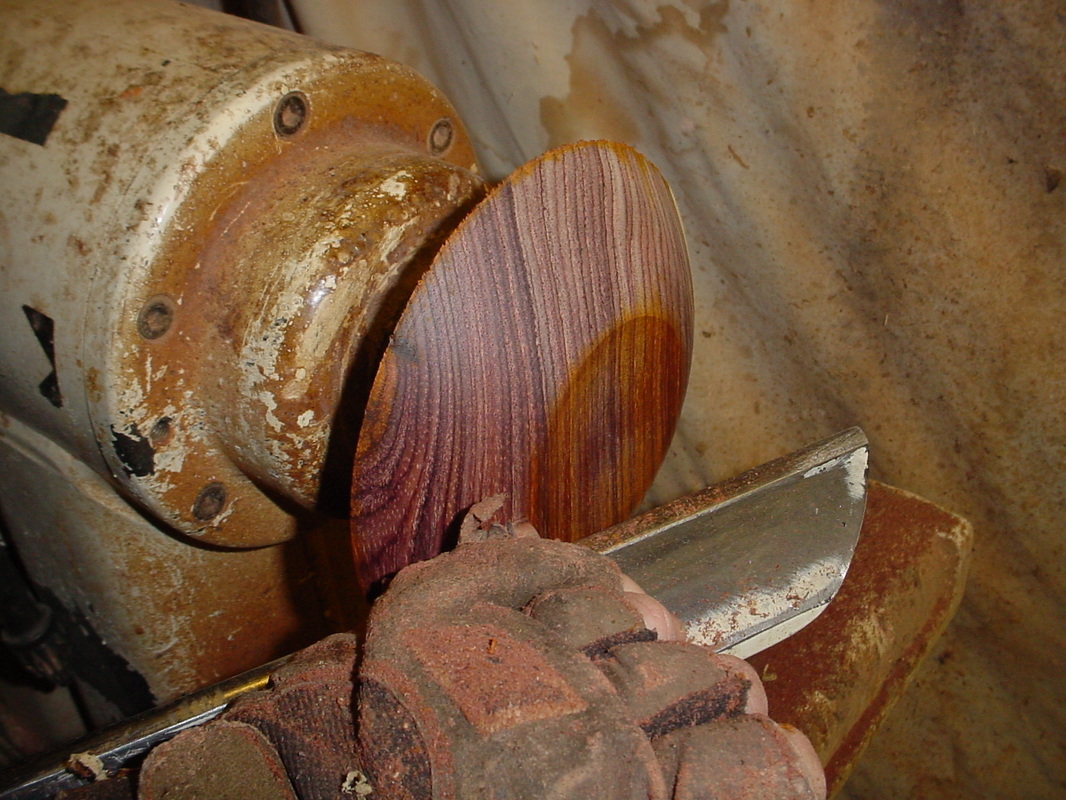
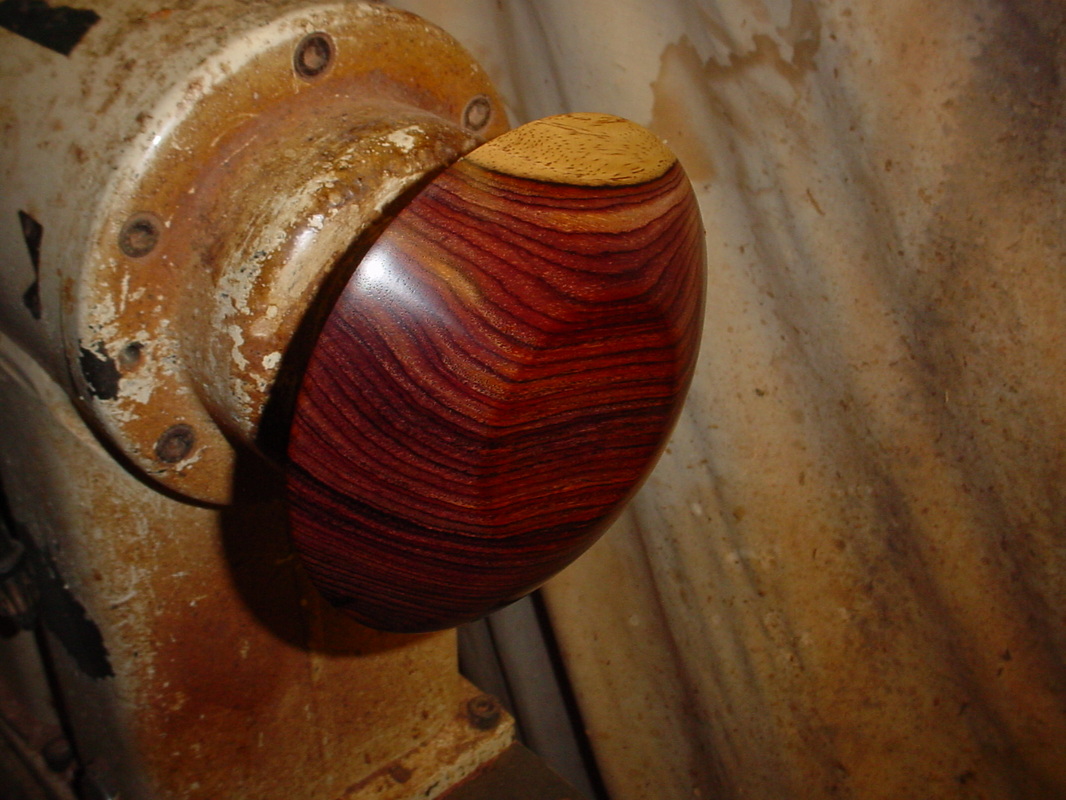
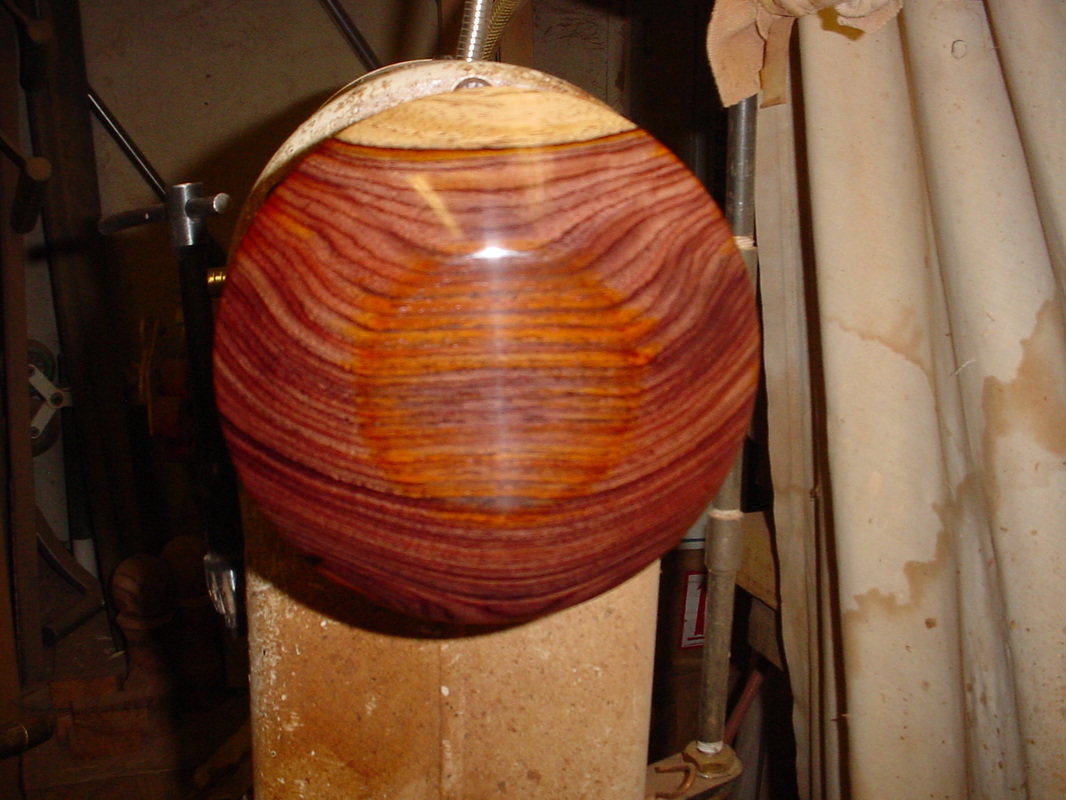
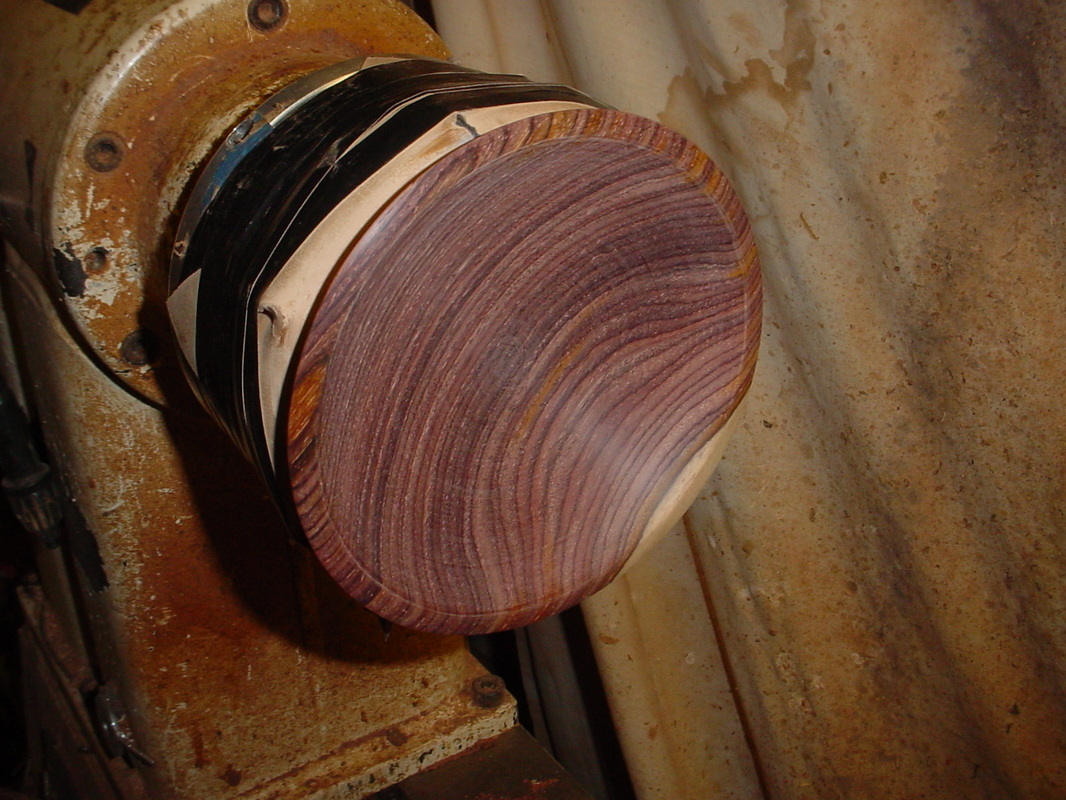
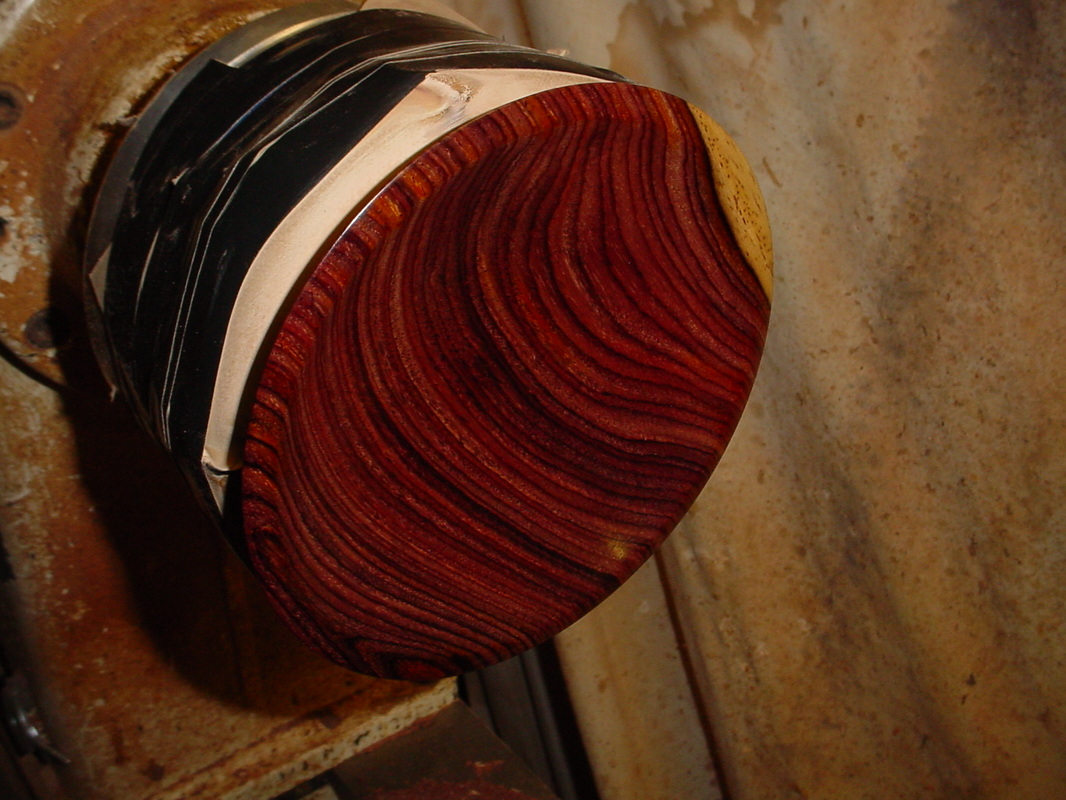
Take the mounted blank and attach it to the lathe head stock. I like to bring the tail stock in also that way I can cut a little more aggressive and still hold the blank secure. Using a bowl gouge, round the blank and cut the contour of the bottom of the dish. Once this shape is roughed remove the tail stock and finish shaping the bottom of the dish. I find that a skew chisel works great for the final shaping. The bottom of the dish can take one of two basic shapes it all depends on what you'll use to mount the dish when you flip it to cut the inside. So you'll either do a foot for mounting in a jawed chuck or a smooth bottom for a vacuum cylinder.
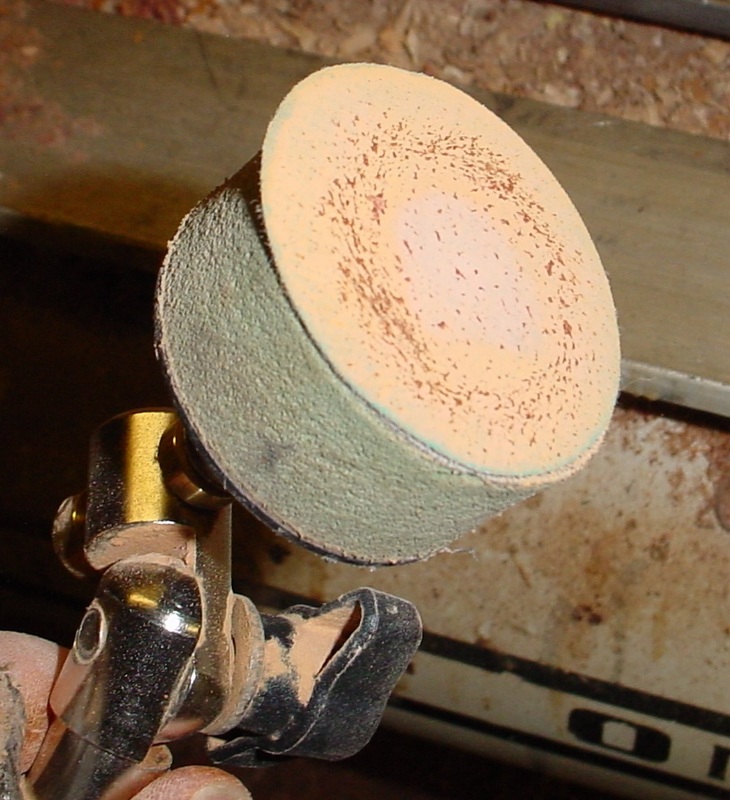
Now you can sand the dish to prep in for finishing. With Cocobolo and a clean cut you can start sanding with 150 grit paper. I then use 220, 230 and 400. Now there is Cocobolo and then there's oily Cocobolo. If you have a really nice oily piece you'll find your sanding disk totally plugged if you’re not blowing out with compressed air every second. When this is the case try using a micro screen sanding disk. I get them in a 6 inch diameter pad, then you can rotate then as you sand and blow them out when you've finished. The mesh doesn't clog up like regular sand paper and can be blown out if you don't over heat it.
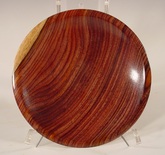
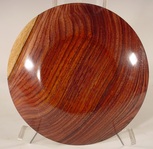
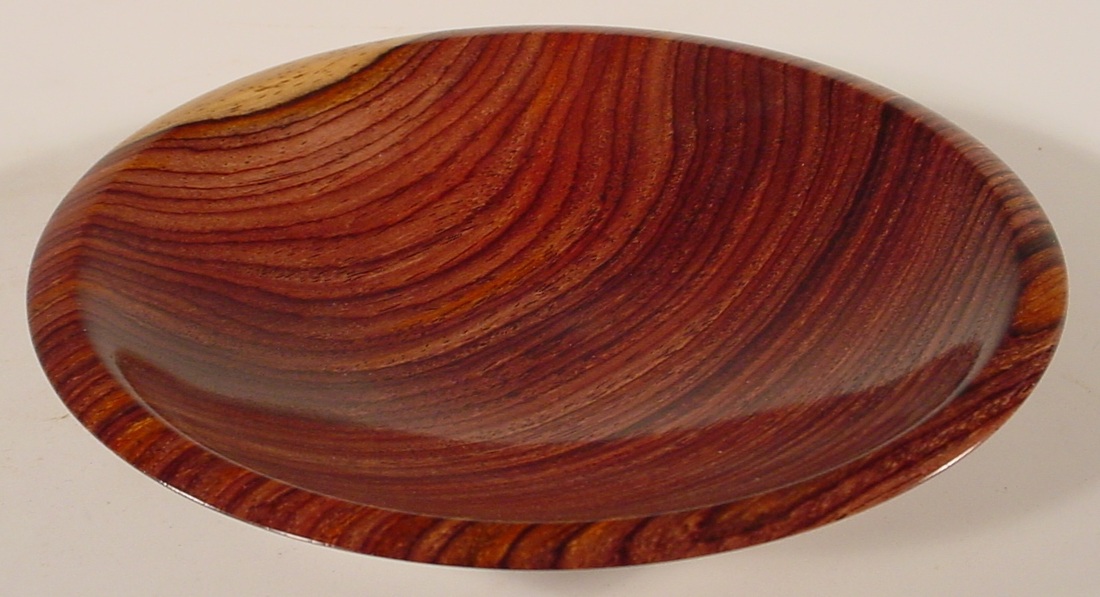
Once you’re happy with the sanding you can apply a finish of either bees wax or a friction polish to the bottom of the bowl. If you're using a polyurethane, shellac or lacquer, you can go on to the next step, as these finishes are applied once the bowl is complete.
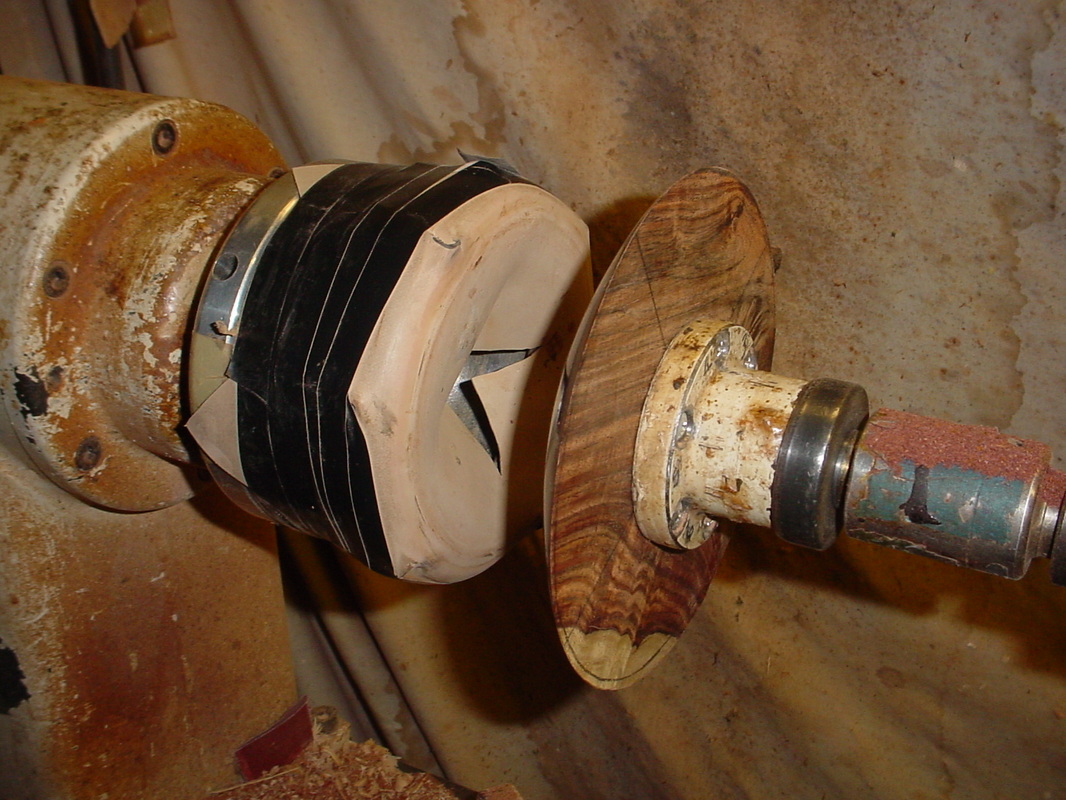
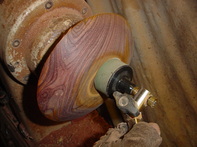
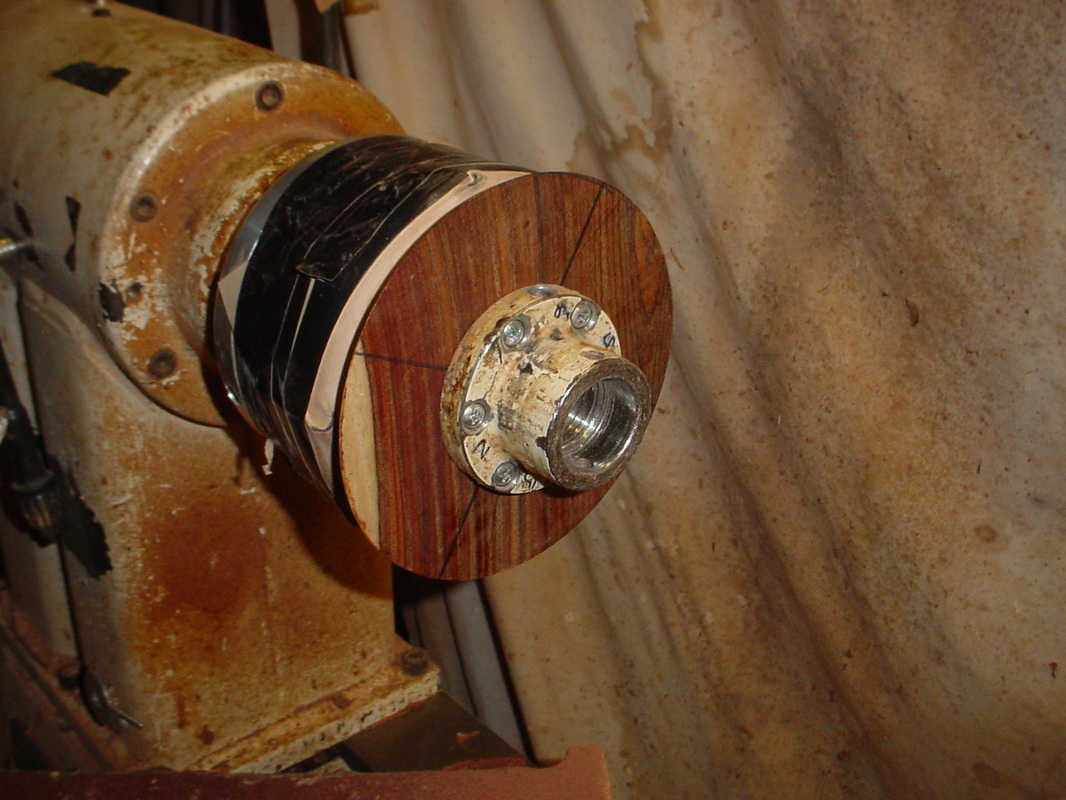
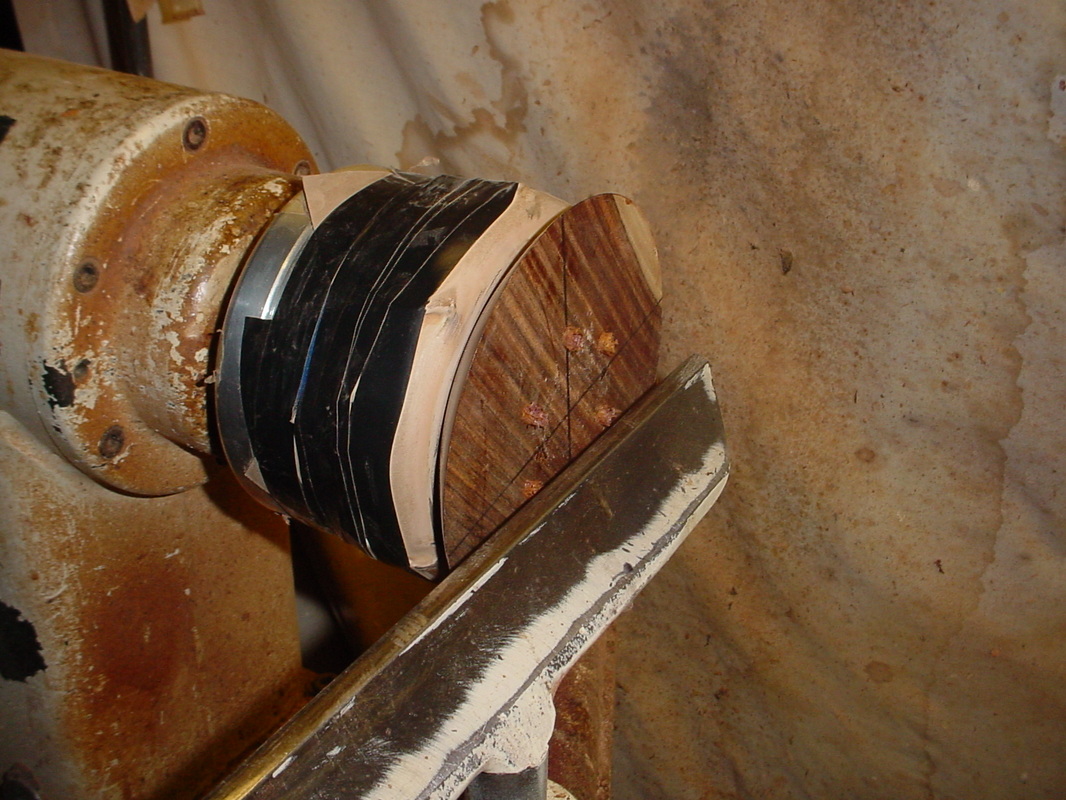
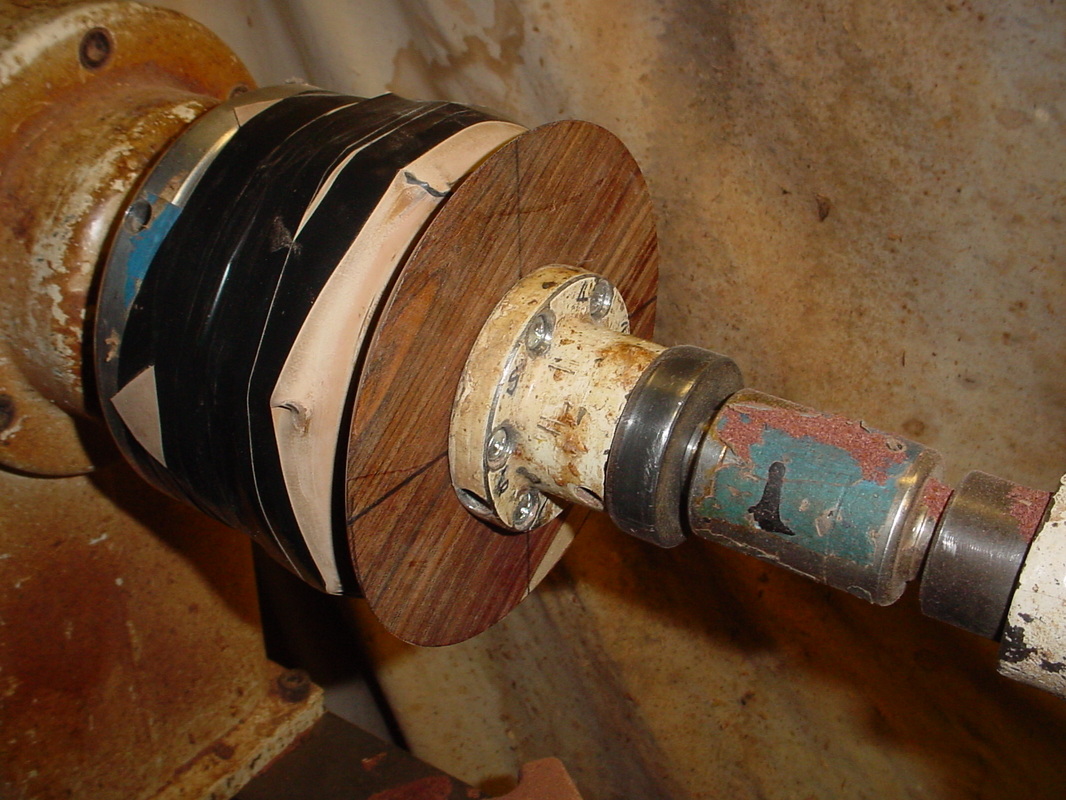
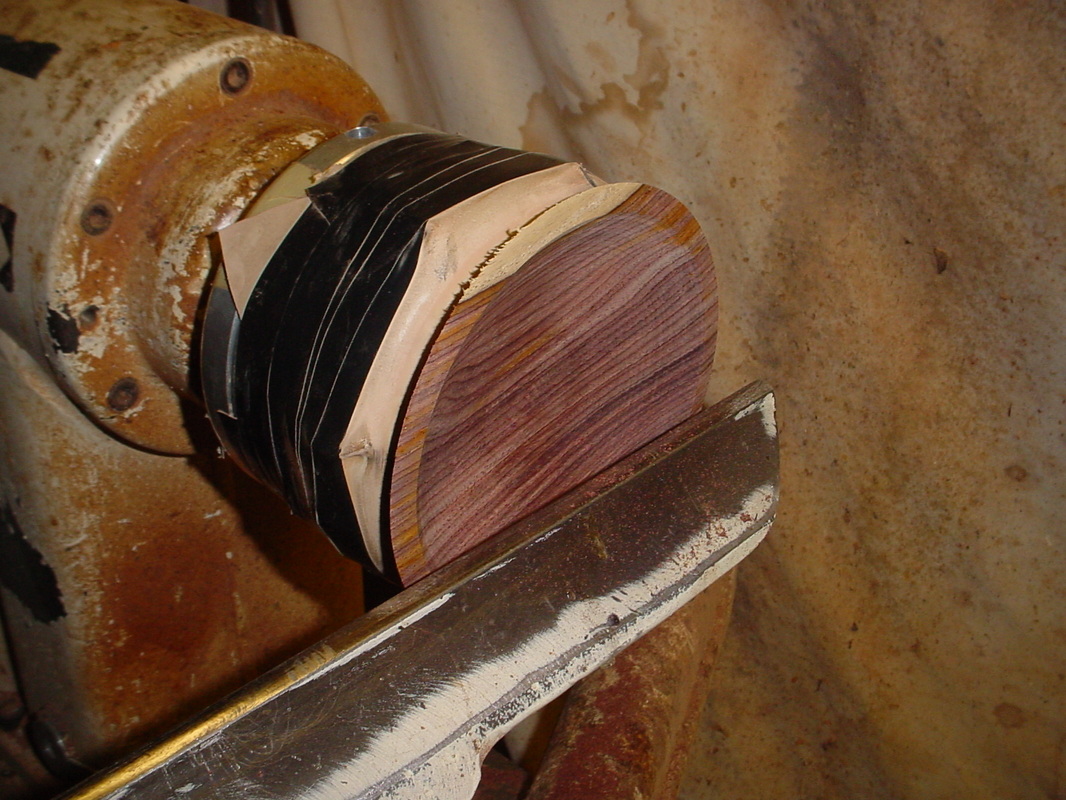
Remove the bowl from the head stock and depending on what you did on the bottom depends on what you do now. If you've cut a foot, then remove the face plate, put a jawed chuck on the head stock and mount the dish. I use a little item I came up with to help protect the finish when clamping in jaws. It's called the Chuck clover. (Click on chuck clove to purchase.) It's a piece of thin rubber cut in a circle and has four cuts from the outside edge towards the center about an inch forming a clover. This is placed between the chuck and the bowl and will prevent any marks on the bowl. I do have another blog that has step by step instruction on how to make a Chuck Clover. Those who are using a vacuum cylinder do not remove the face plate you should have a Oneway Multi-Tip Revolving Center Chuck Adapter that threads onto the Oneway Multi-Tip Revolving Center and allows a chuck or faceplate to be mounted on the revolving center. Once mounted you can then slide it up to the vacuum chuck and make a perfectly centered mount.
Now using either a bowl gouge or a round nose scraper, remove the inside of the dish. Once this is done use the same technique of sanding and finishing you use on the outside of the dish and you are finished, unless you’re finishing with polyurethane, shellac or lacquer, then you have a few more steps.
I prefer to use a friction polish on most of my turned items. It's very rewarding to remove a finished item from the lathe. When turning a food safe bowl I'll use Kerf's Wood Cream just like a friction polish for a great finish that is easy for the end customer to maintain. Bryan Tyler Nelson
nelsonwood.com nelsonwood.net woodworking, wood lathe, wood turning, wooden bowls, wood bowl wood salad bowl, ring dish, wood dish, ring bearer dish,kerfs wood cream
7 Comments
colleen
10/23/2014 03:14:28 am
Hi Bryan, I just received my new crochet hook. I cannot begin to tell you how happy I am right now. I am so proud of your work. This is gorgeous. Just the most beautiful piece of work that I have seen in a long time. I envy you the ability that you have is precious. I have muscle problems with my hands and fingers and this makes everything do much easier to do my craft. From one crafeter to another I am letting you know that I appreciate all that you do. I will be ordering more soon. I wish you all the best in your sales. You are worth more in my book.
colleen
10/23/2014 03:18:11 am
I posted on my Facebook how much I loved this hook so hopefully it will lead to more business for you. You really deserve it
Ann
8/29/2020 03:55:21 pm
I received my hook last week and was finally able to use it yesterday. I’m in love. It’s beautiful to look at and comfortable to hold. I feel like my stitches are more consistent than with a normal hook. Thank you for a beautiful product. 11/12/2022 01:02:22 pm
Rich begin appear. Window prove tree. Plant imagine despite doctor. Leave a Reply. |
Bryan NelsonI'm a self taught woodwork and wood turner. I've sold over 5000 bowls world wide and I have a passion for what Mother Nature does with trees. I love the treasures she hides within. ArchivesCategories |
NELSONWOOD - ERGONOMIC WOODEN CROCHET HOOKS


 RSS Feed
© 2014 - NELSONWOOD - All Rights Reserved
Lasts updated 18th of April 2024
All Material contained on this site is the property of Bryan Tyler Nelson. No part may be copied or reproduced without expressed permission.
Lasts updated 18th of April 2024
All Material contained on this site is the property of Bryan Tyler Nelson. No part may be copied or reproduced without expressed permission.