Chuck Clover
1/30/2014
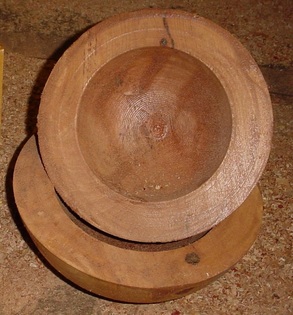
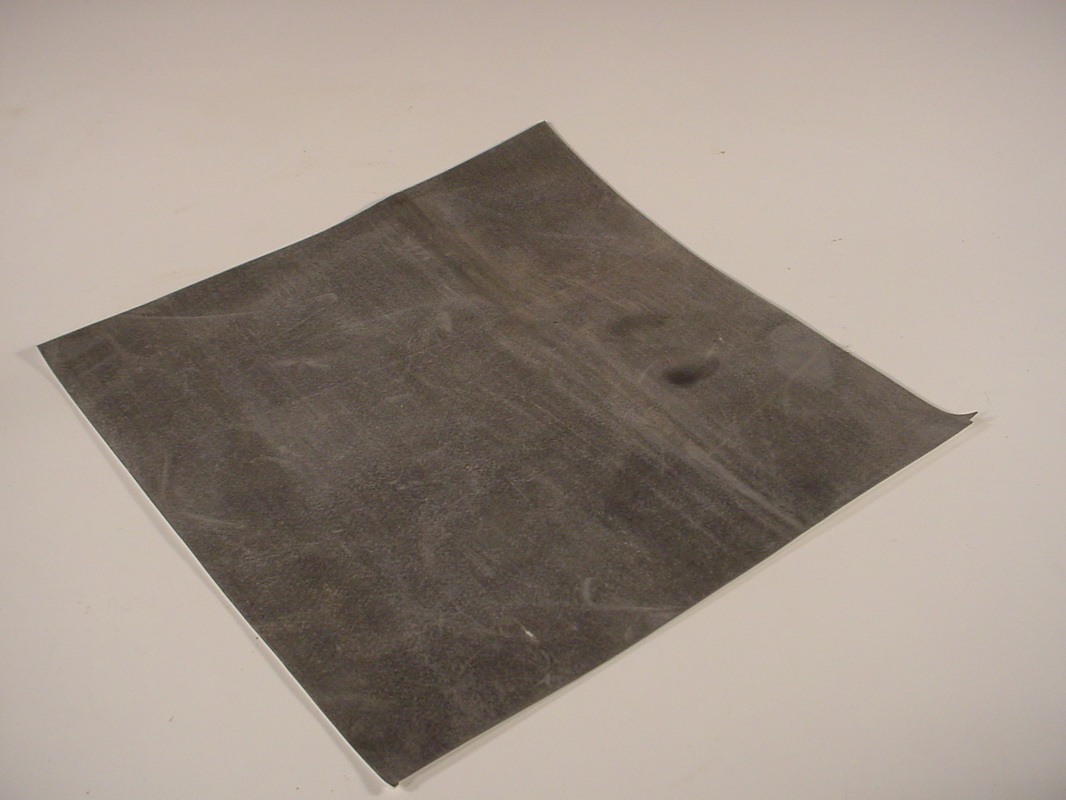
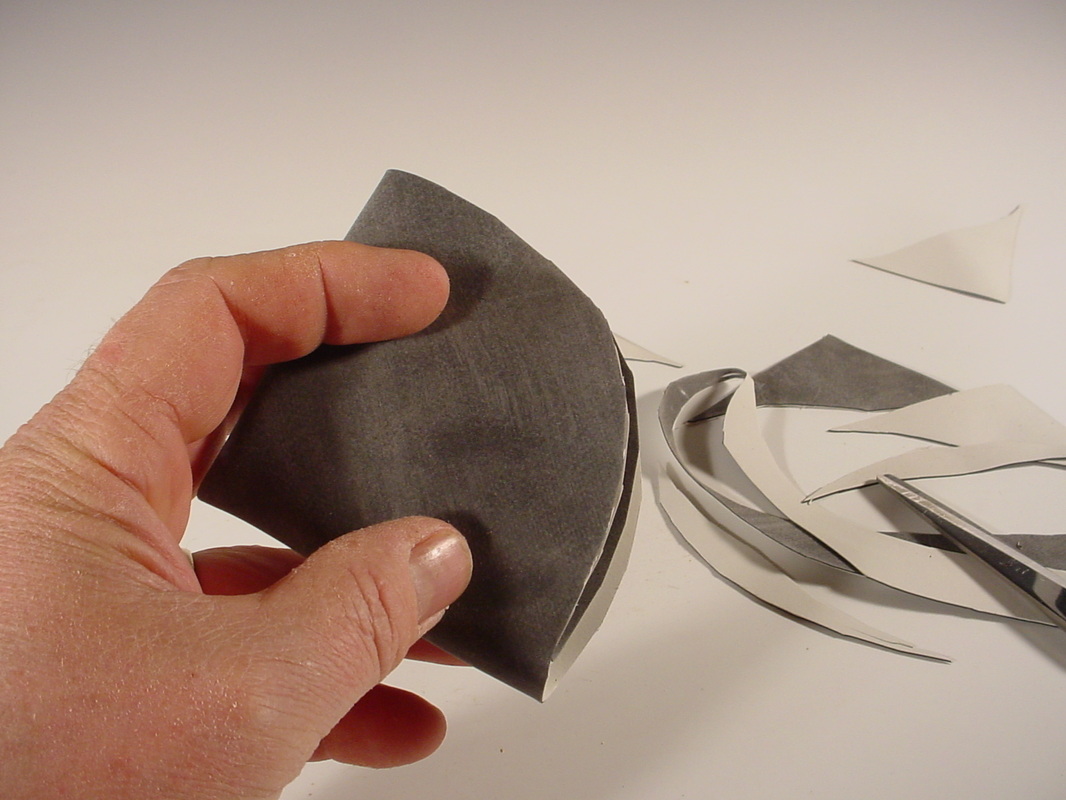
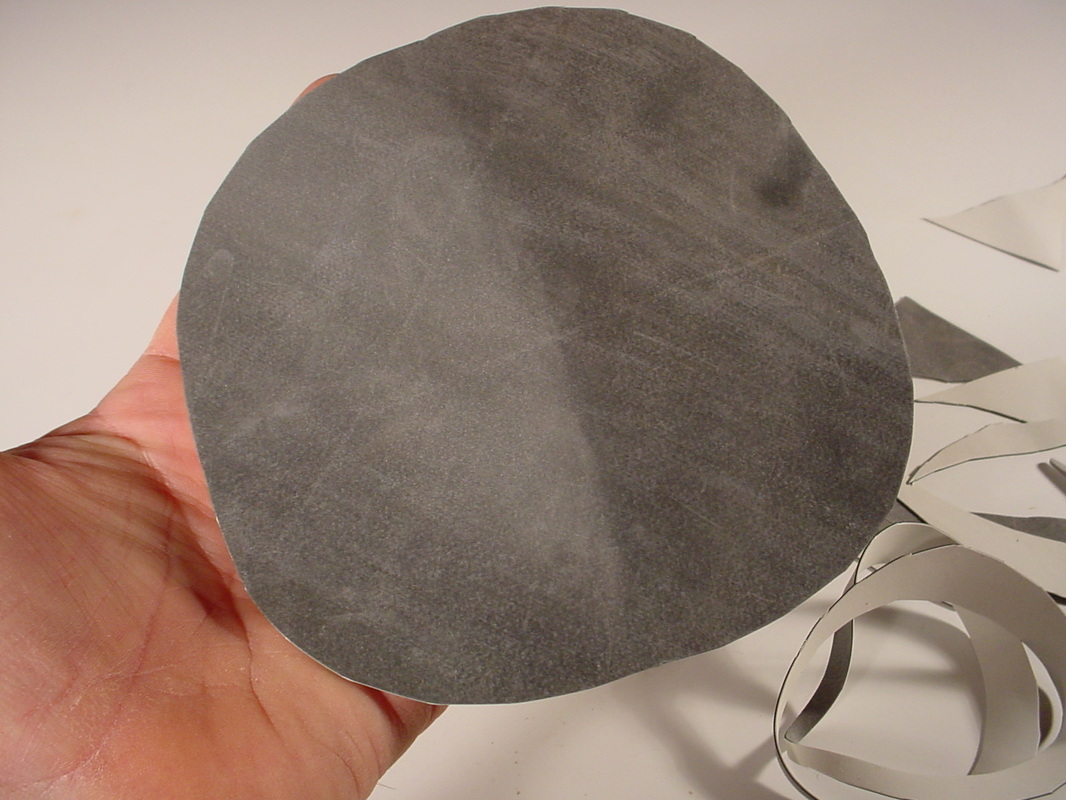
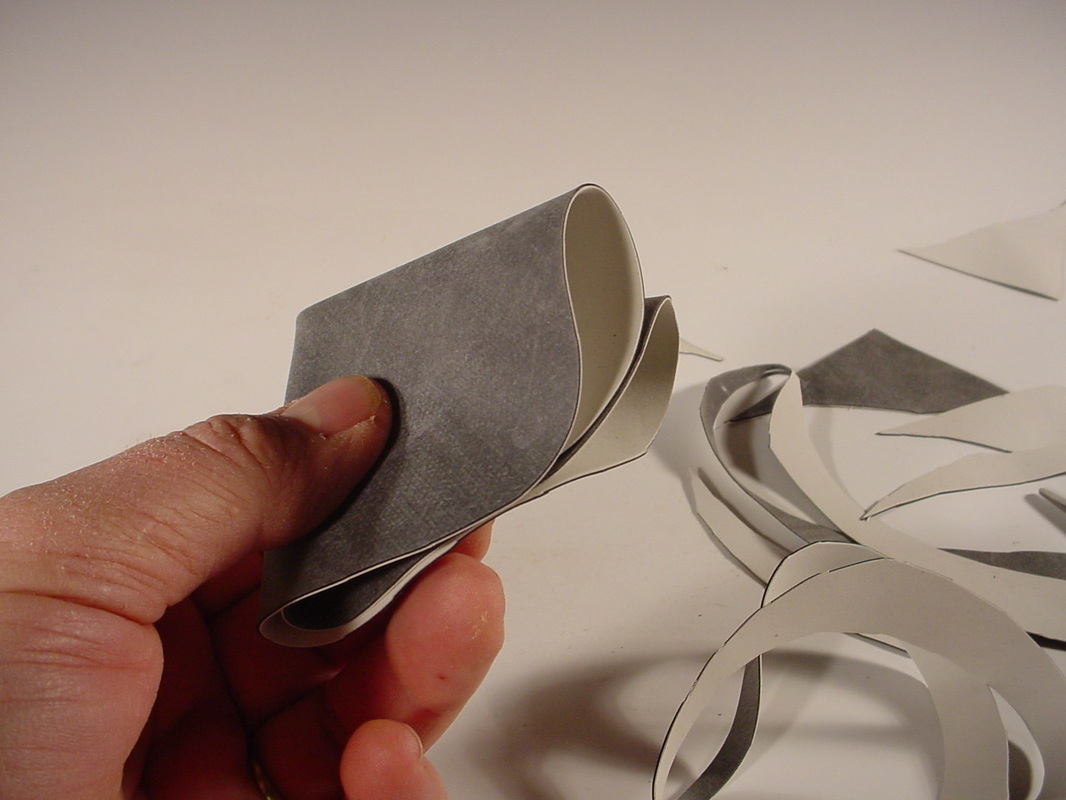
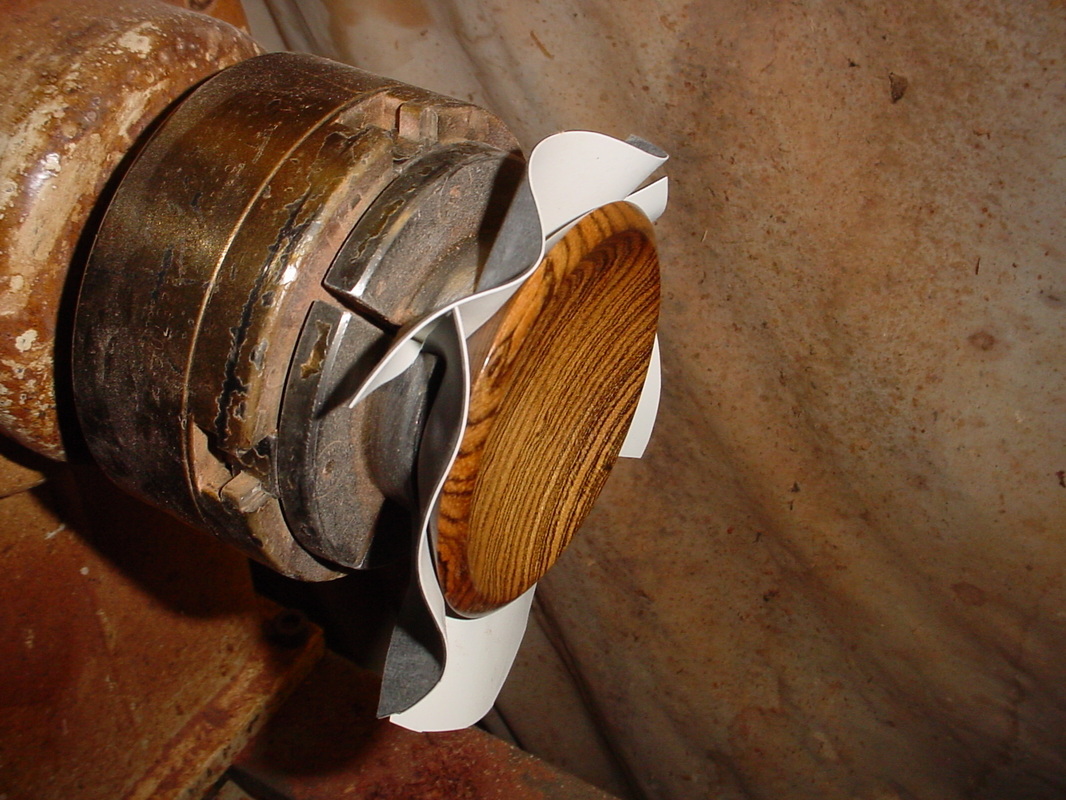
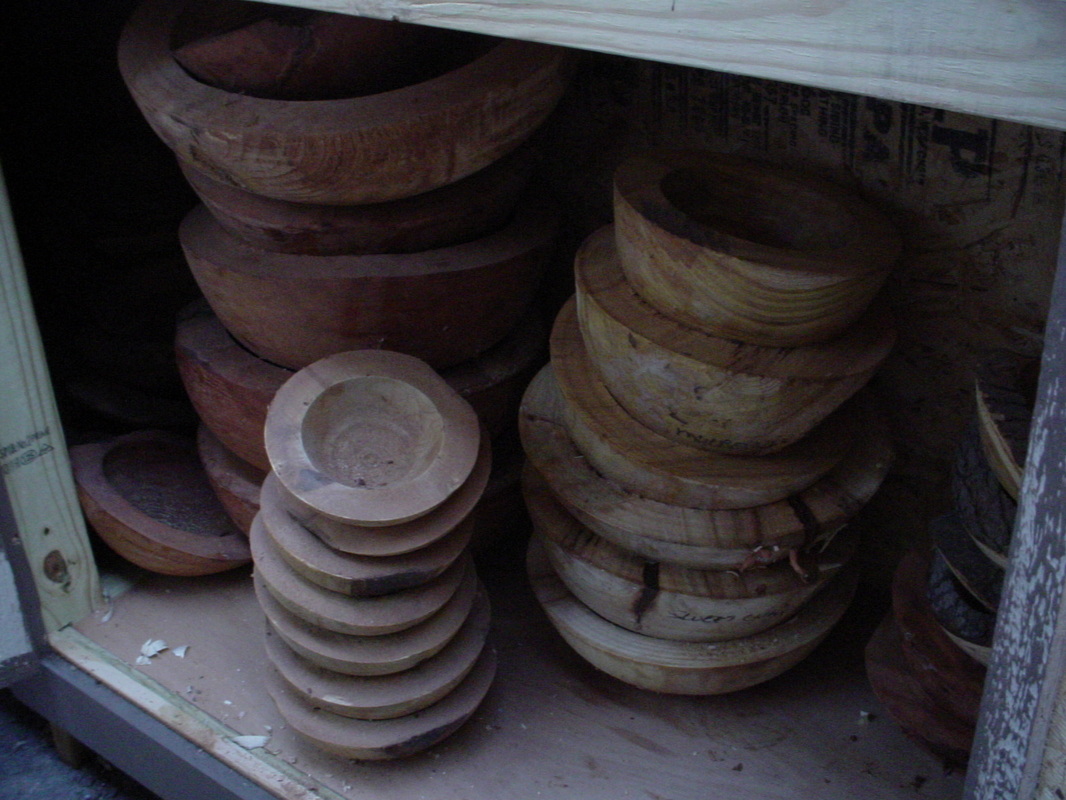
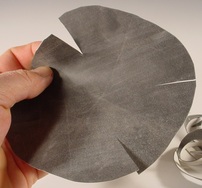 A Chuck Clover is a little item I designed, a few years ago to help protect a finished turned bowl from the steel jaws of a turning chuck. When turning a bowl I normally start on the out side, the blank being attach with a face plate. I finish the out side and either round the bottom for attachment with a vacuum cylinder or cut a pedestal for mounting in a turning chuck. I noticed when placing a finished bowl in the steel jaws I would get little indentations on the base of the bowl. Now there are a few soft chucks out there, but they just don't seam to hold as well as a good set of steel jaws. So I came up with the Chuck Clover. You start with a piece of thin rubber (1/32 to 1/16) in a square shape by folding it in quarters, you can then cut a round from the square. Or should I say roundish........
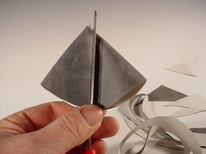
Next you need to cut four cuts from the outside edge towards the center about 1 -1 1/2 inches long. The cuts must be on the 3,6,9,12 clock positions, This is easier the it sounds, just fold it into quarters and cut in the middle.
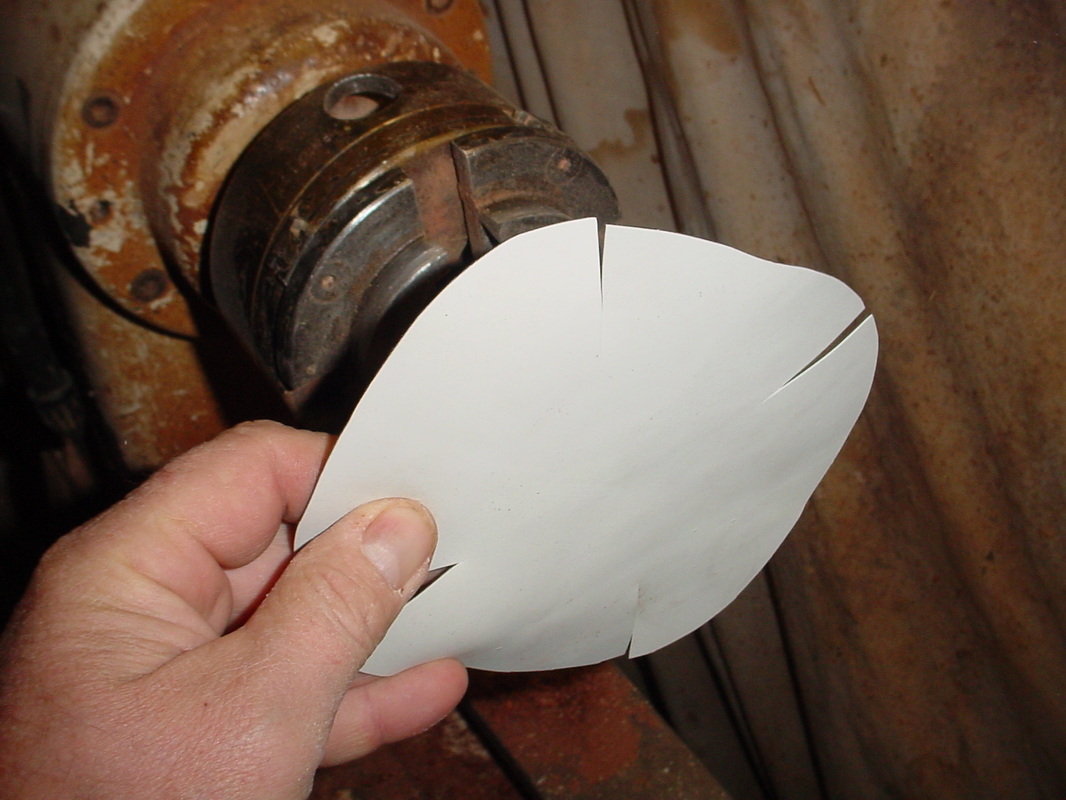
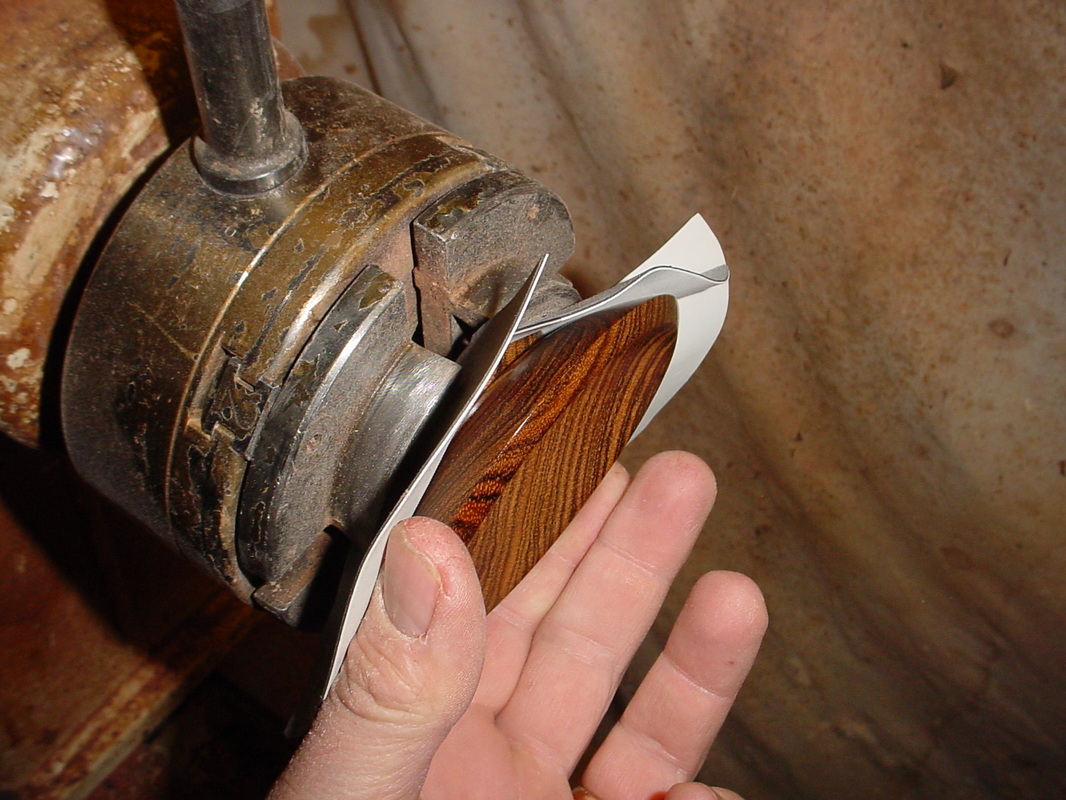
Now you have a Chuck Clover. You are ready to use your new Chuck Clover. Place it between the chuck and the bowl you want to protect. Be sure the cuts in the Clover line up with the gaps in the chuck jaws. Slowly tight the chuck while pressing the bowl towards the jaws. The clover should collapse between the jaws and allow the jaws to hold the bowl tightly. Do not over tighten you can still leave dents in the bowl if you over tighten.
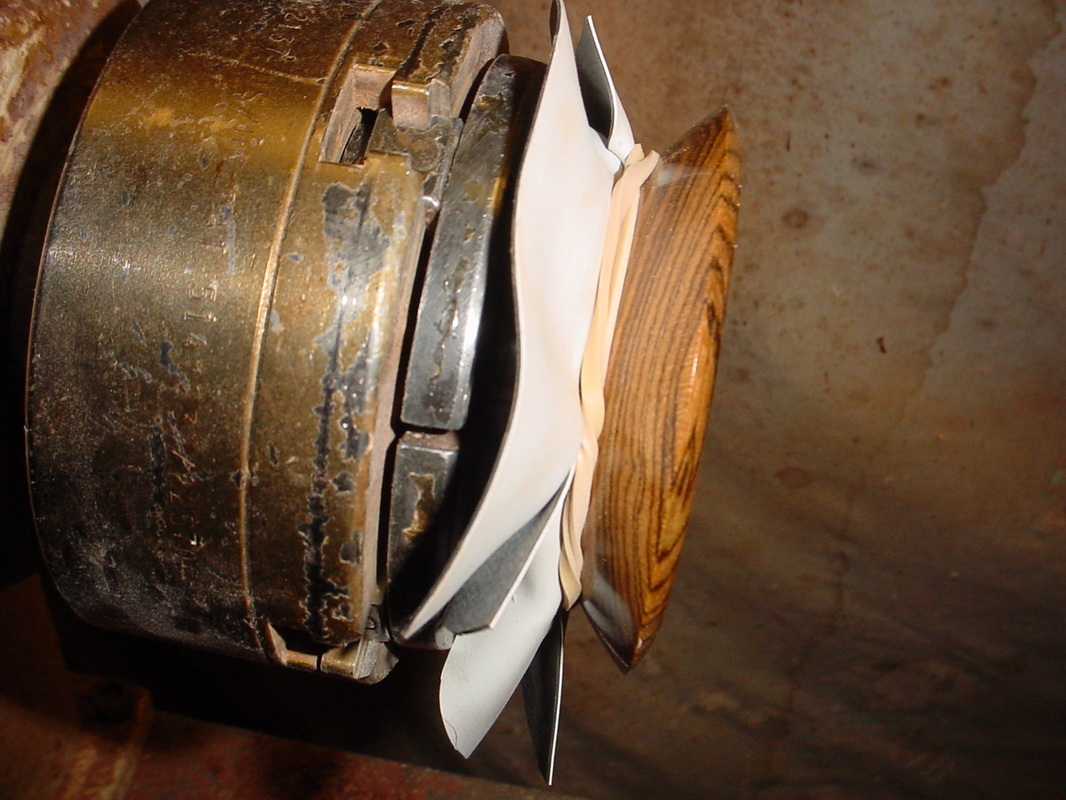
Because it's always better to be to big then to small when it comes to Chuck Clovers I well placed thick rubber band will hold the edges of the Chuck Clover back from the work piece and out of your way. Be sure it a thick new rubber band. Now you can finish turning your bowl.
There you have it a perfect bowl with no jaw marks! If you can't find suitable rubber I do have a few Chuck Clover for sale...
Bryan Tyler Nelson nelsonwood.com nelsonwood.net
3 Comments
Green Wood
1/28/2014
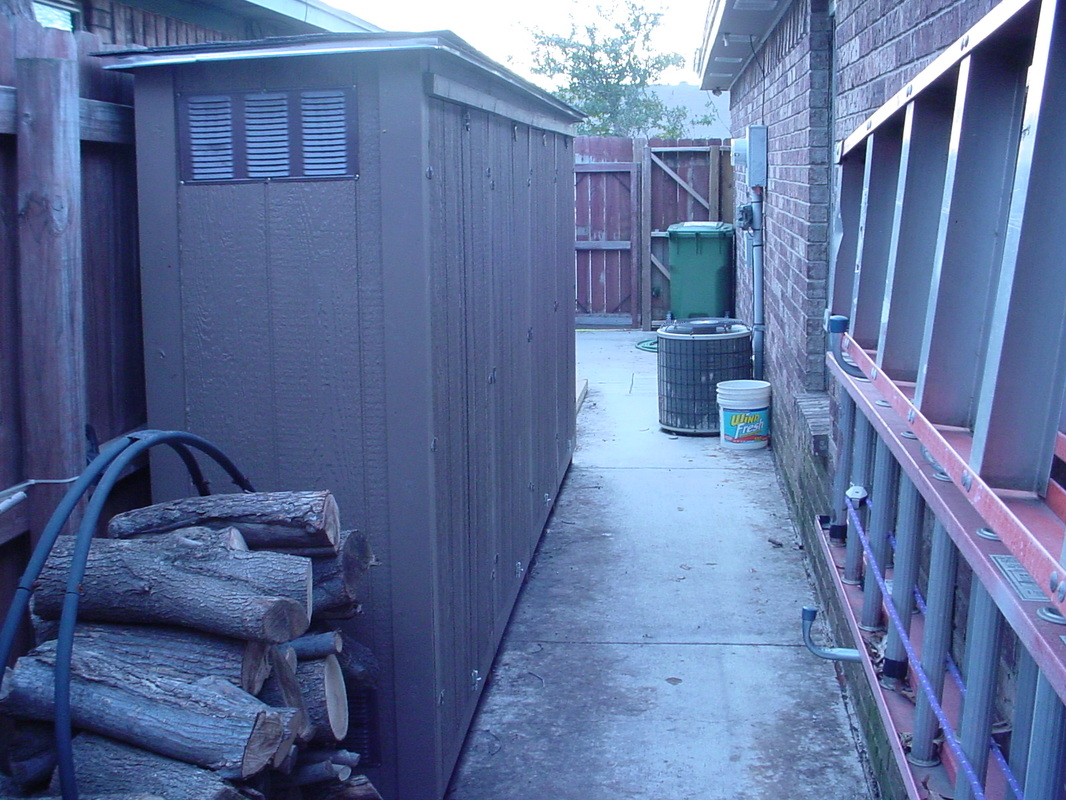
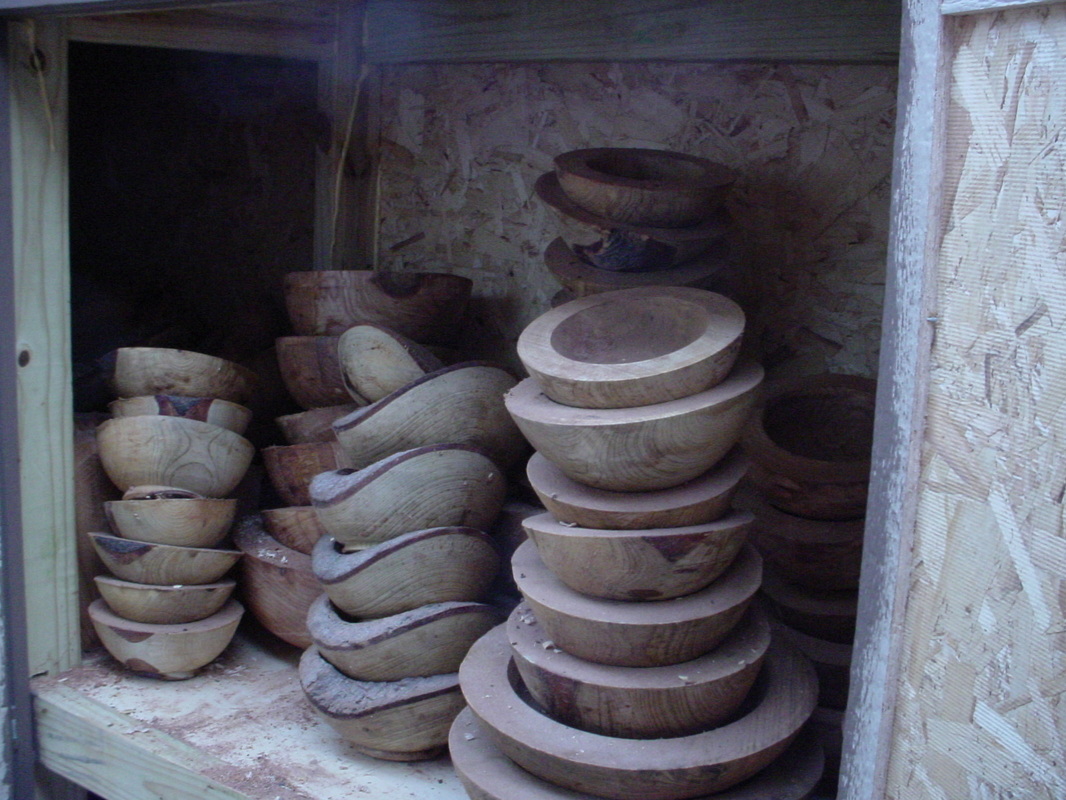
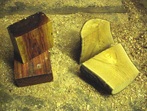 I've been ask what to I do with green woods. Green wood are both a treasure and a bane. Turning green wood can be a tricky venture but very rewarding. You will find green wood in one of two forms, freshly cut and wax sealed. Both have a common need, to get rid of the water in their cells. 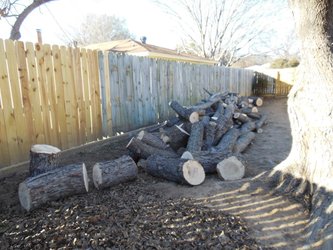 Fresh cut trees are very easy to handle. The first thing you do is remove the pith. This is done by cutting a small amount from the center of the log, basically cutting the log in half with the grain. Then you want to turn a rough bowl, leaving it over-sized. Leave it at least 1” thick for bowls up to 6-8 inches and 2-3” for larger bowls. There is not an exact number as every wood species dries differently. Once the bowl is roughed you want to slow down the moisture loss, so coat it with a green wood sealer. Don’t be stingy with the sealer either. Once the sealer has set, place the bowl in a protect area out of direct sun light. I have a shed built just for drying bowls; it is well vented with no force air and works very well for my domestic woods. Do not bring the bowls indoors to a headed environment, the bowl will dry too quickly and they will crack. If you’re in a very dry area of the country the bowl can be placed in a brown paper bag to help slow the drying process even more. It’s important to weight the bowl after waxing and writing the weight on the bowl. By checking the weight every month or so you can tell when it is dry as it will stop losing weight. 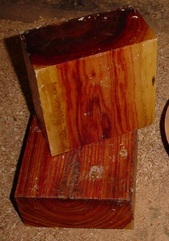 Waxed cover woods are a different kind of animal. What you do with it depends on if it is an exotic or domestic wood. If it’s domestic you will follow the directions for green woods above. If it’s exotic the best thing to do is leave it alone for period of time depending on the species. You've spend a bit of money buying exotic wood the last thing you need is a bunch of firewood. Never place and exotic waxed wood in a heated environment, they will surly split. An unheated garage or shed is perfect, but protect from high heat also. I keep all my waxed exotics in an attached garage and buy in the fall, winter and spring. This gives the wood a chance to adjust and build up to the high heat of summer (I live in Texas).
 Turning exotic wood takes time and I've had great success with letting them sit for up to a year before attempting to turn. I know that sound crazy but if you spend the money you need to take care of the wood!
There are ways to speed this up but it depends on what you’re making. If you want to turn small bowls you can cut the block in half, a 2x6x6 become a 1x6x6, and then reseal the cut side. This will in affect cut your drying time in half. Never scrape the wax off thinking this will speed it up, they will crack. They are waxed for a reason. You can treat the waxed wood just like green wood and turn it thick. I would always place it in a paper bag after rough turning and waxing. There are some exotic that will never dry out, camphor burl is one. I've had a block for 4 years and was still wet on the inside, it was 2” thick. So then you start the green wood process. Once you get to know your woods you’ll find the best way to work them. There is no grantee when it comes to wax cover wood so don’t cry over split blocks learn from it and try again. Just take it slow and the reward will come when you've complete the journey! Bryan Tyler Nelson nelsonwood.com nelsonwood.net |
Bryan NelsonI'm a self taught woodwork and wood turner. I've sold over 5000 bowls world wide and I have a passion for what Mother Nature does with trees. I love the treasures she hides within. ArchivesCategories |
NELSONWOOD - ERGONOMIC WOODEN CROCHET HOOKS


 RSS Feed
© 2014 - NELSONWOOD - All Rights Reserved
Lasts updated 18th of April 2024
All Material contained on this site is the property of Bryan Tyler Nelson. No part may be copied or reproduced without expressed permission.
Lasts updated 18th of April 2024
All Material contained on this site is the property of Bryan Tyler Nelson. No part may be copied or reproduced without expressed permission.