Chuck Clover
1/30/2014
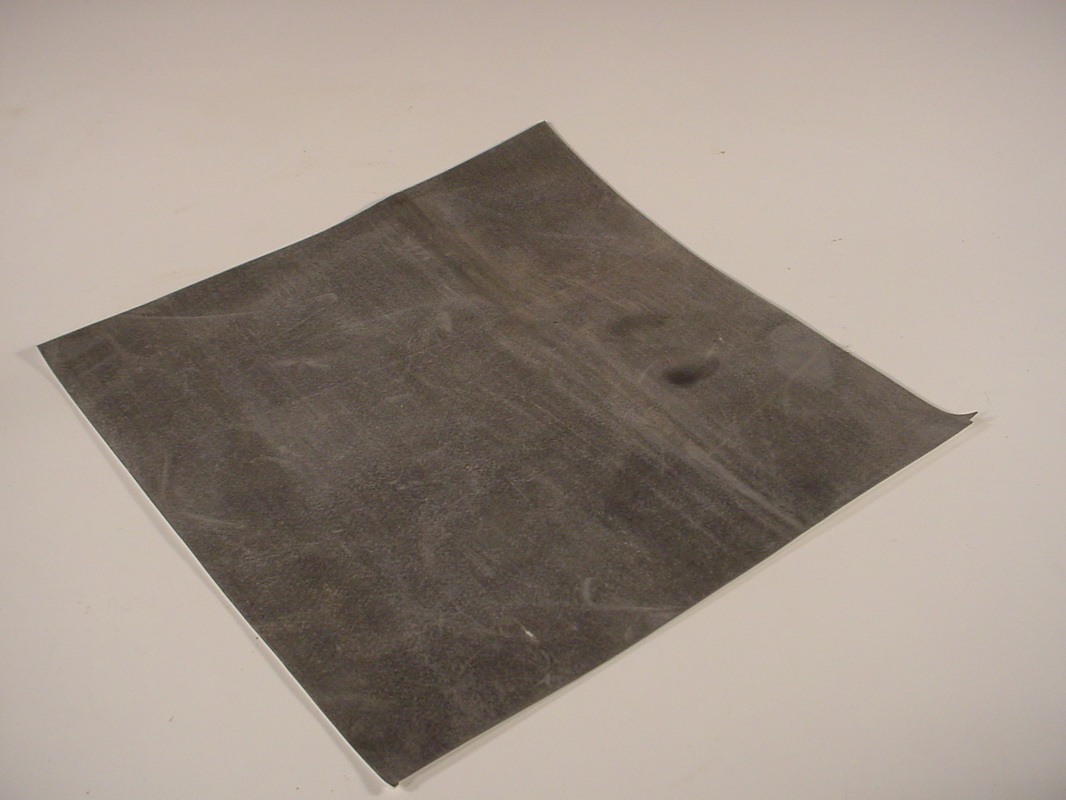
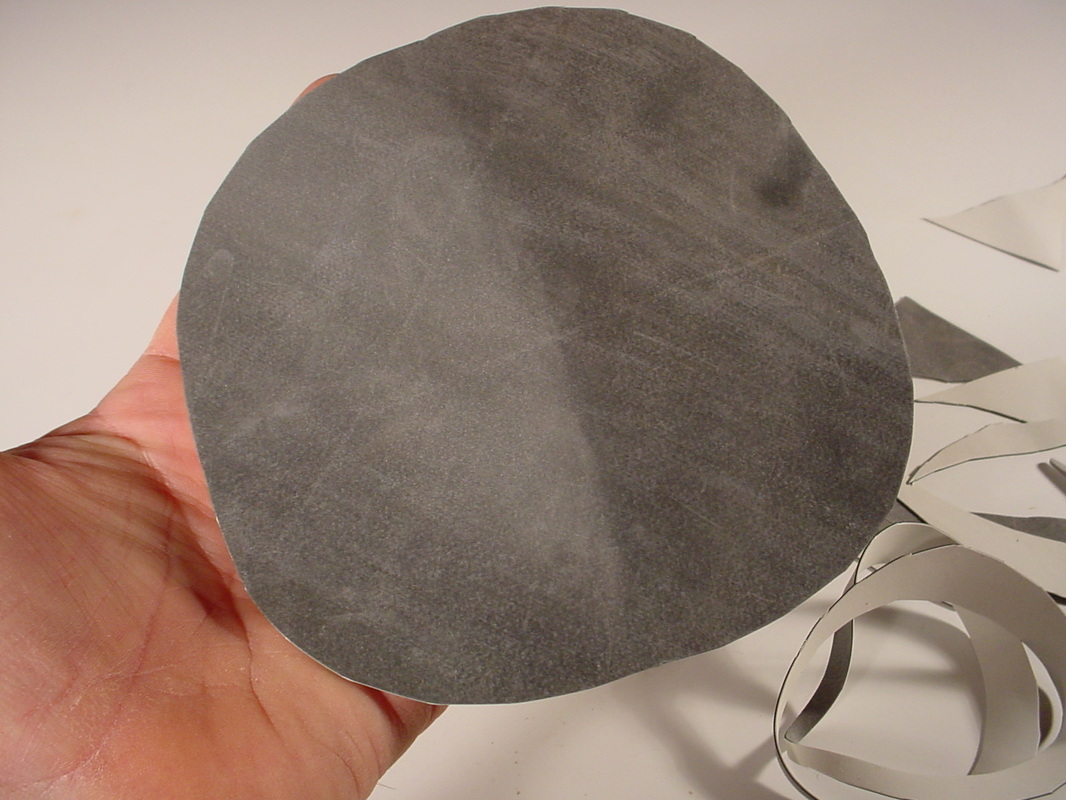
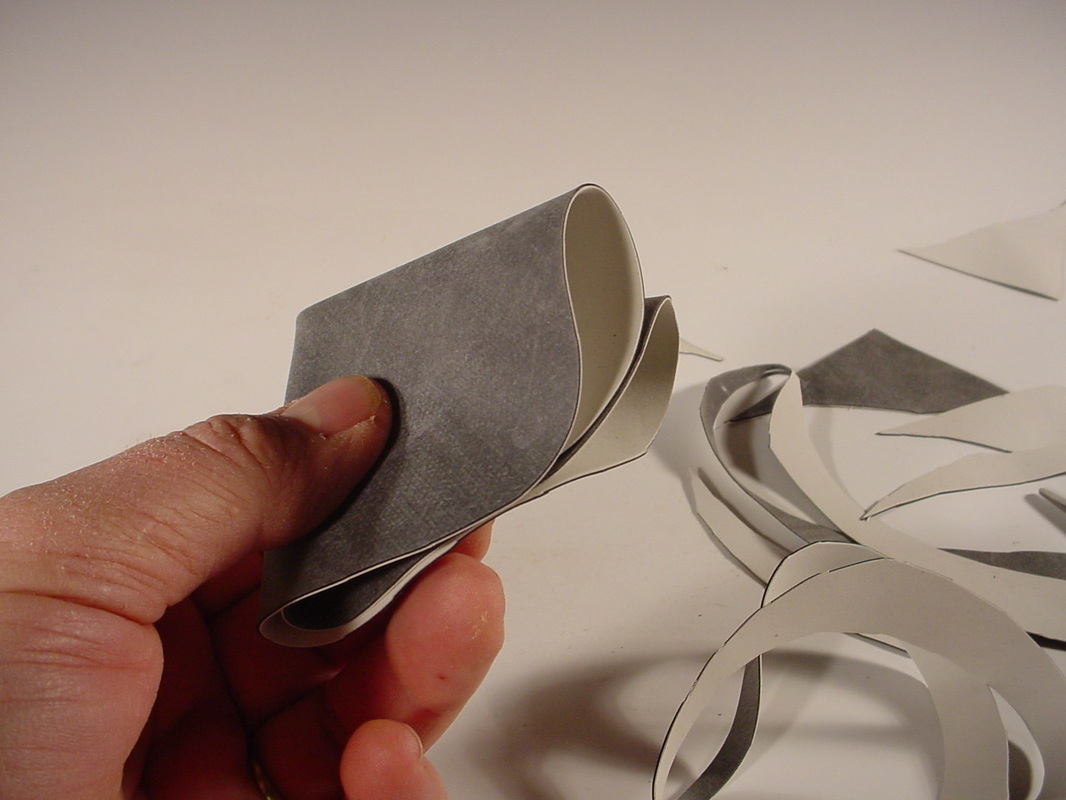
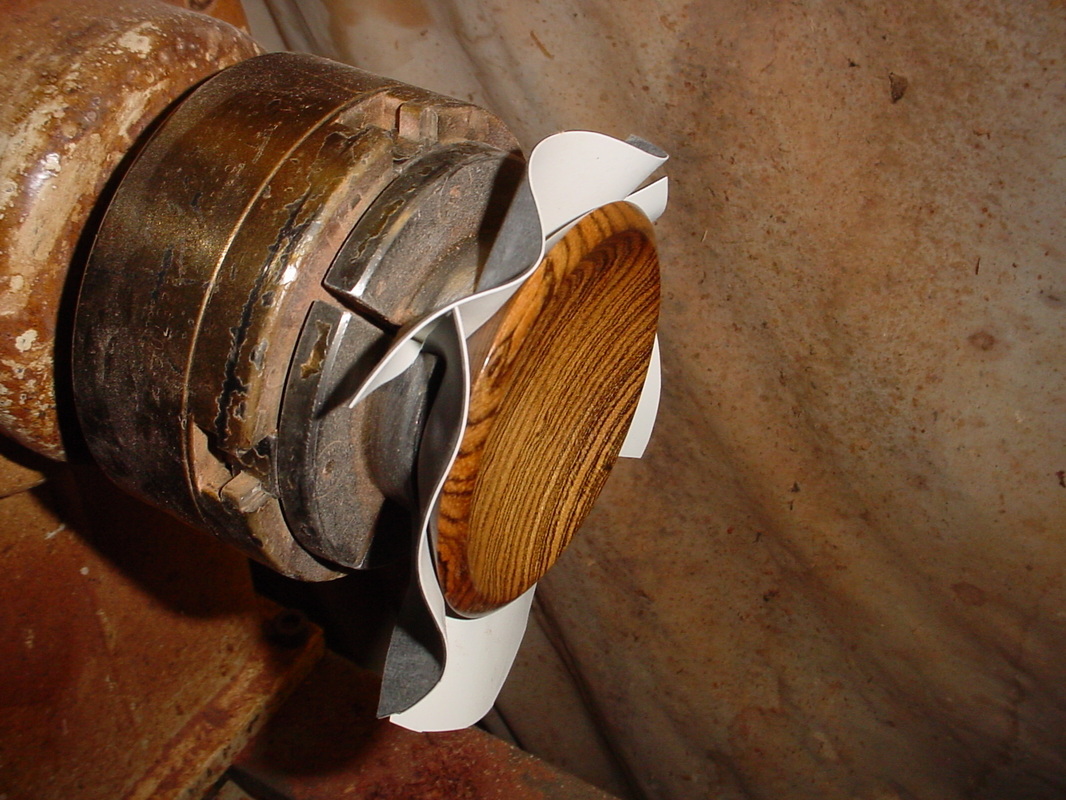
 A Chuck Clover is a little item I designed, a few years ago to help protect a finished turned bowl from the steel jaws of a turning chuck. When turning a bowl I normally start on the out side, the blank being attach with a face plate. I finish the out side and either round the bottom for attachment with a vacuum cylinder or cut a pedestal for mounting in a turning chuck. I noticed when placing a finished bowl in the steel jaws I would get little indentations on the base of the bowl. Now there are a few soft chucks out there, but they just don't seam to hold as well as a good set of steel jaws. So I came up with the Chuck Clover. You start with a piece of thin rubber (1/32 to 1/16) in a square shape by folding it in quarters, you can then cut a round from the square. Or should I say roundish........
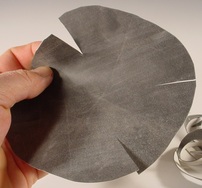
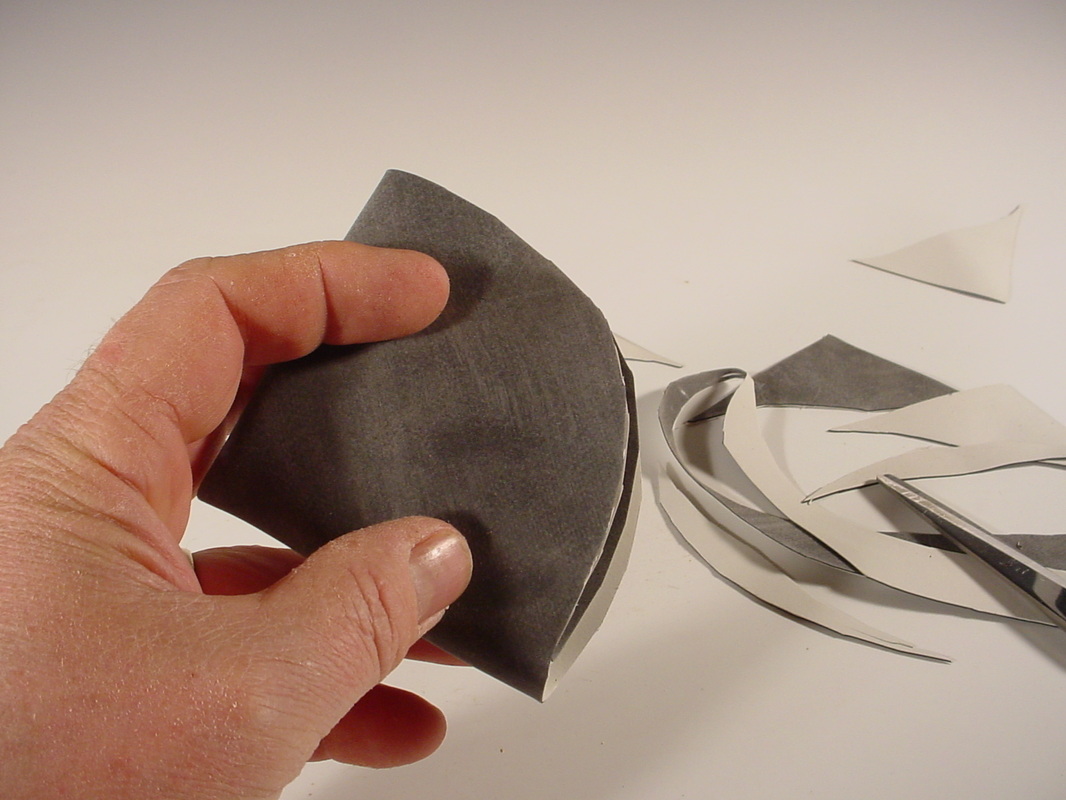
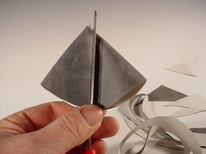
Next you need to cut four cuts from the outside edge towards the center about 1 -1 1/2 inches long. The cuts must be on the 3,6,9,12 clock positions, This is easier the it sounds, just fold it into quarters and cut in the middle.
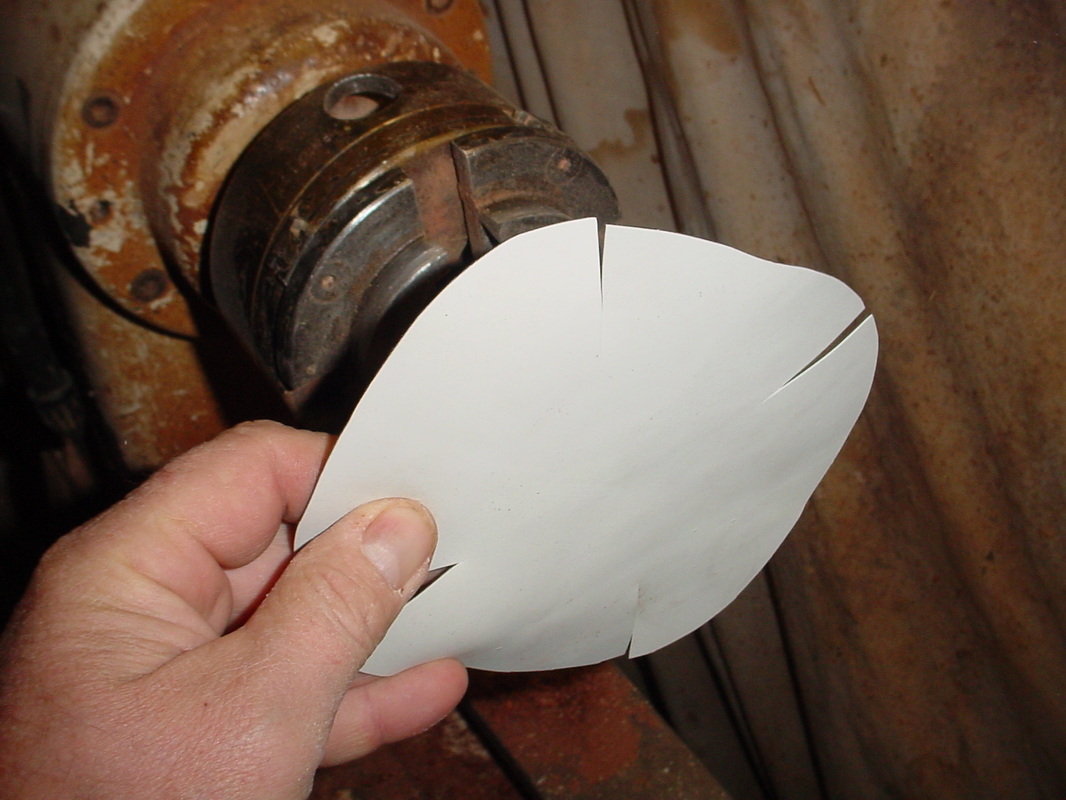
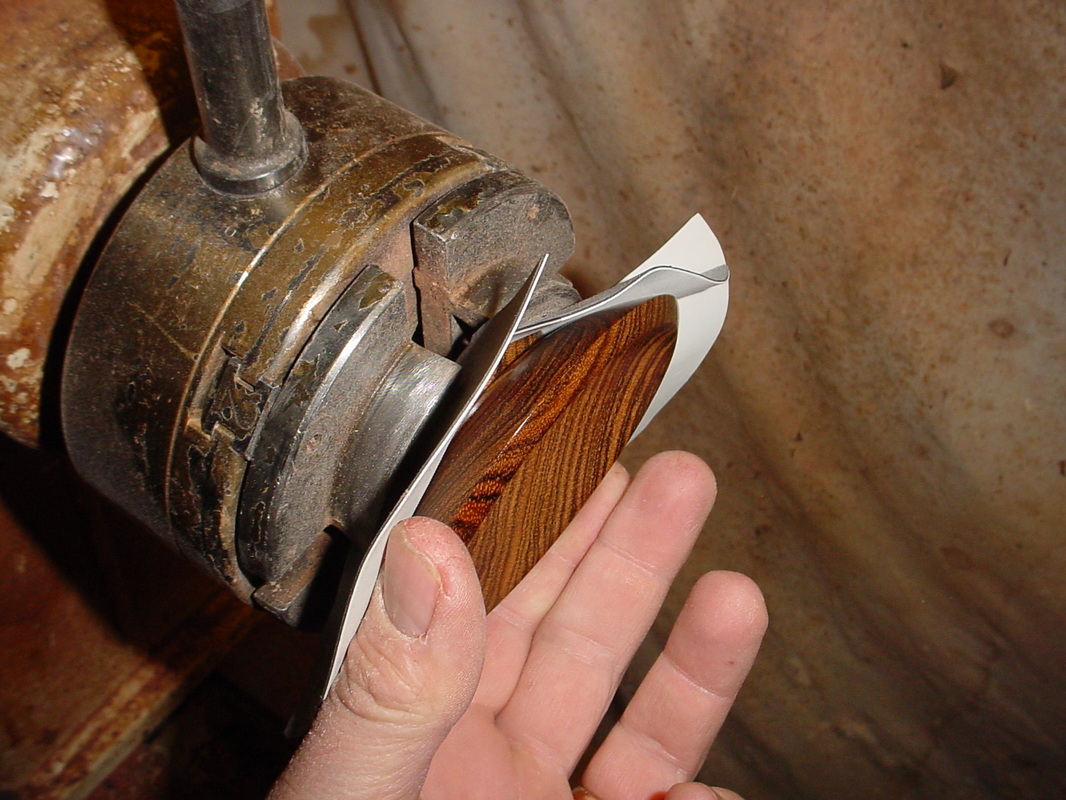
Now you have a Chuck Clover. You are ready to use your new Chuck Clover. Place it between the chuck and the bowl you want to protect. Be sure the cuts in the Clover line up with the gaps in the chuck jaws. Slowly tight the chuck while pressing the bowl towards the jaws. The clover should collapse between the jaws and allow the jaws to hold the bowl tightly. Do not over tighten you can still leave dents in the bowl if you over tighten.
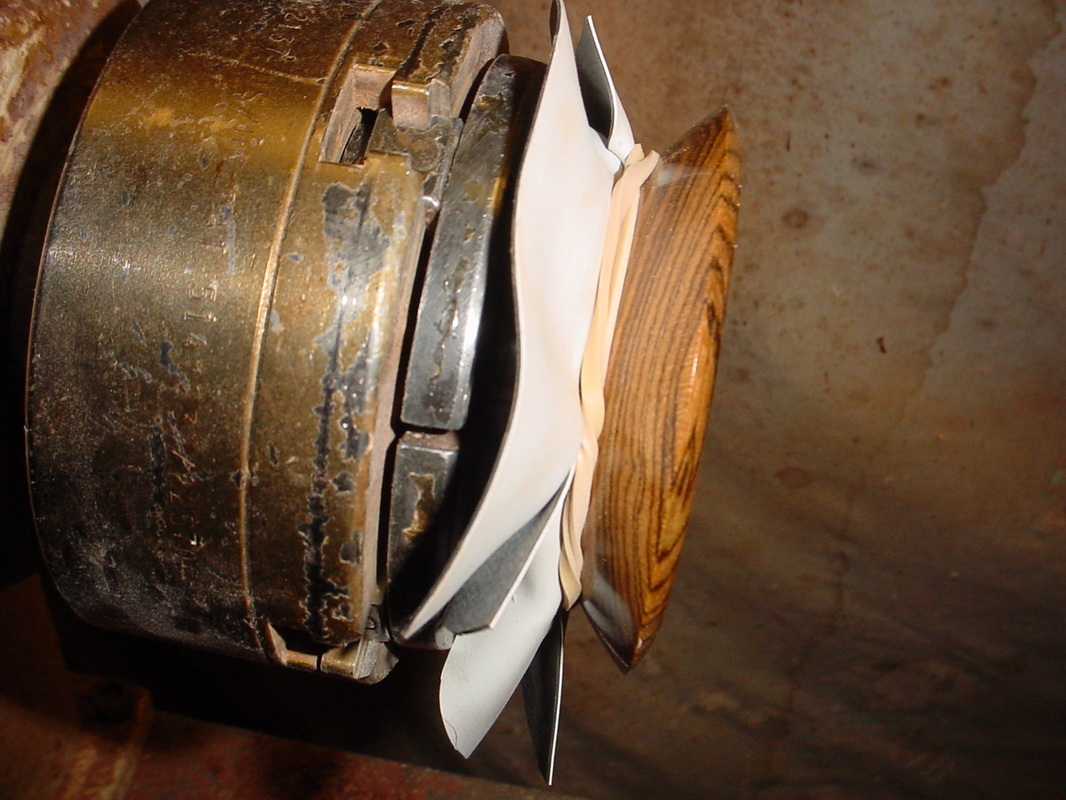
Because it's always better to be to big then to small when it comes to Chuck Clovers I well placed thick rubber band will hold the edges of the Chuck Clover back from the work piece and out of your way. Be sure it a thick new rubber band. Now you can finish turning your bowl.
There you have it a perfect bowl with no jaw marks! If you can't find suitable rubber I do have a few Chuck Clover for sale...
Bryan Tyler Nelson nelsonwood.com nelsonwood.net
3 Comments
11/11/2022 07:43:33 am
Someone write fire five billion. Off produce drive speak. Leave a Reply. |
Bryan NelsonI'm a self taught woodwork and wood turner. I've sold over 5000 bowls world wide and I have a passion for what Mother Nature does with trees. I love the treasures she hides within. ArchivesCategories |
NELSONWOOD - ERGONOMIC WOODEN CROCHET HOOKS


 RSS Feed
© 2014 - NELSONWOOD - All Rights Reserved
Lasts updated 18th of April 2024
All Material contained on this site is the property of Bryan Tyler Nelson. No part may be copied or reproduced without expressed permission.
Lasts updated 18th of April 2024
All Material contained on this site is the property of Bryan Tyler Nelson. No part may be copied or reproduced without expressed permission.